Create your custom SwiftUI file template in Xcode

I am a Software Engineer working on open source and enterprise mobile SDKs for iOS and MacOS developers written in Swift. From 🇩🇪 and happily living in 🇺🇸
This blog post will show you how to create a custom file template that allows you to create new SwiftUI Views immediately available in the Xcode library. Unfortunately, the built-in SwiftUI file template does not have this addition, as I explained in my last blog post Apple's DeveloperToolsSupport framework.
Xcode provides out-of-the-box templates for various files, e.g. Swift File, Cocoa Touch Class, and SwifUI View.
If you want to learn more about file templates, then I recommend reading Creating File Templates from the "Xcode Project and File Templates" tutorial on https://www.raywenderlich.com/
Create a new folder in /Applications/Xcode.app/Contents/Developer/Library/Xcode/Templates/File Templates/MultiPlatform/User Interface
I named in SwiftUI Reuse.xctemplate but you can choose any name you prefer.
Then create two files
TemplateInfo.plist: meta data information about the template file. Just by Xcode in the modal dialog for new file creation.___FILEBASENAME___.swift: the actual template
Here is the code I use in my ___FILEBASENAME___.swift. I copied the code of the original template and added the structure conforming to LibraryContentProvider.
//___FILEHEADER___

import SwiftUI

struct ___FILEBASENAMEASIDENTIFIER___: View {
    var body: some View {
        Text(/*@START_MENU_TOKEN@*/"Hello, World!"/*@END_MENU_TOKEN@*/)
    }
}

struct ___FILEBASENAMEASIDENTIFIER____Previews: PreviewProvider {
    static var previews: some View {
        ___FILEBASENAMEASIDENTIFIER___()
    }
}

@available(iOS 14.0, *)
@available(macOS 11.0, *)
struct ___FILEBASENAMEASIDENTIFIER____LibraryViewContents: LibraryContentProvider {
    var views: [LibraryItem] {
        LibraryItem(___FILEBASENAMEASIDENTIFIER___())
    }
}
Here is my TemplateInfo.plist. I added the option to specify the view name. Otherwise Xcode might not prompt you to set a file name in some situations. Then you would end up with SwiftUIView and you would need to rename the file. I avoid this hassle with the TemplateInfo.plist option.
<?xml version="1.0" encoding="UTF-8"?>
<!DOCTYPE plist PUBLIC "-//Apple//DTD PLIST 1.0//EN" "http://www.apple.com/DTDs/PropertyList-1.0.dtd">
<plist version="1.0">
<dict>
    <key>SupportsSwiftPackage</key>
    <true/>
    <key>Kind</key>
    <string>Xcode.IDEFoundation.TextSubstitutionFileTemplateKind</string>
    <key>Description</key>
    <string>A SwiftUI custom view with preview and library content provider</string>
    <key>Summary</key>
    <string>SwiftUI View</string>
    <key>SortOrder</key>
    <string>1</string>
    <key>AllowedTypes</key>
    <array>
        <string>public.swift-source</string>
    </array>
    <key>Platforms</key>
    <array />
    <key>DefaultCompletionName</key>
    <string>SwiftUIView</string>
    <key>MainTemplateFile</key>
    <string>___FILEBASENAME___.swift</string>
    <key>Image</key>
    <dict>
        <key>FileTypeIcon</key>
        <string>swift</string>
    </dict>
<key>Options</key>
    <array>
        <dict>
            <key>Identifier</key>
            <string>productName</string>
            <key>Required</key>
            <true/>
            <key>Name</key>
            <string>View:</string>
            <key>Description</key>
            <string>The name of the view to create</string>
            <key>Type</key>
            <string>text</string>
            <key>NotPersisted</key>
            <true/>
        </dict>
    </array>
</dict>
</plist>
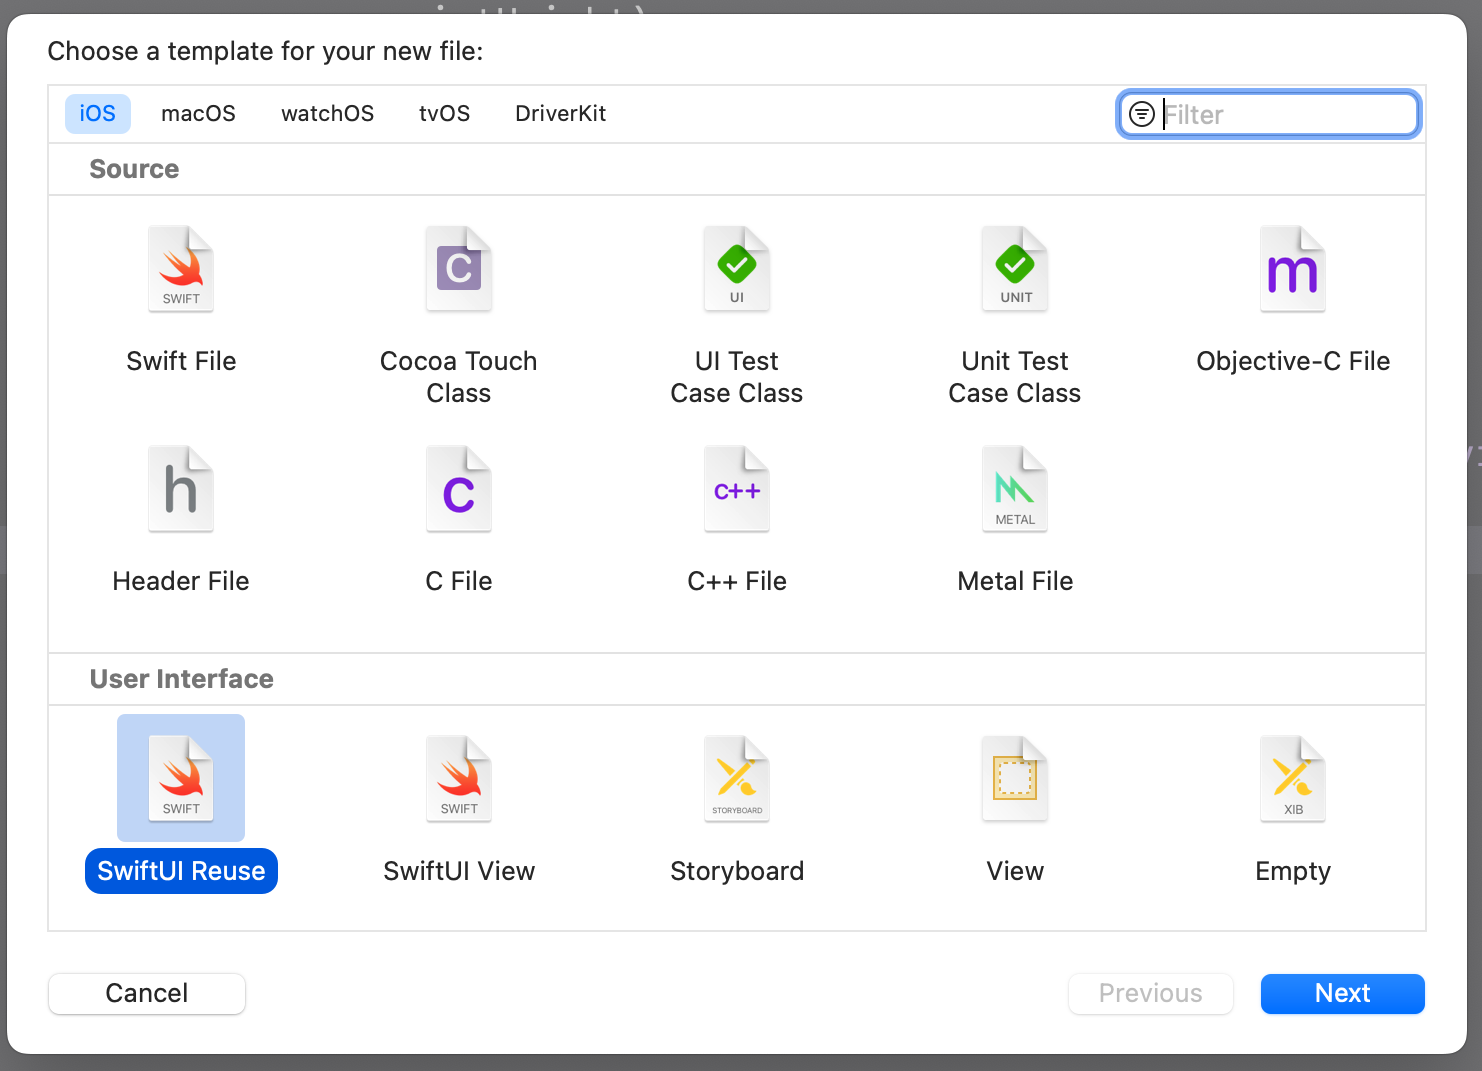
You will see the template in the "New file" dialog once you restart Xcode.


Opening the Xcode library (⇧⌘L) will list this custom view.

I explained the template creation in my latest YouTube video as well.