I'll share an OAuth2 PKCE implementation written in Swift in this blog post. This implementation is testable with an iOS app leveraging the free service of Auth0. I'll explain how to sign-up for your very own account and to modify the test application to use your account.
Note: I wrote this blog post for research purposes. I encourage you to use existing SDKs based on the service you are using.
PKCE
The OAuth framework specifies several grant types for different use cases. The commonly known ones are
- Authorization Code: used by confidential and public clients to exchange an authorization code for an access token.
- Client Credentials: used by clients to obtain an access token outside of the context of
But there are many more, including Proof Key for Code Exchange by OAuth Public Clients.
PKCE (RFC 7636 ) is an extension to the Authorization Code flow to prevent Cross-Site Request Forgery (CSRF) and authorization code injection attacks.
The technique involves the client first creating a secret and then using that secret again when exchanging the authorization code for an access token. If the code gets intercepted, it will not be useful since the token request relies on the initial secret.
A great way to get more familiar with the involved steps is to use the PKCE Example on the OAuth 2.0 Playground.
Here is a sequence diagram published by Auth0 for visual explanation.
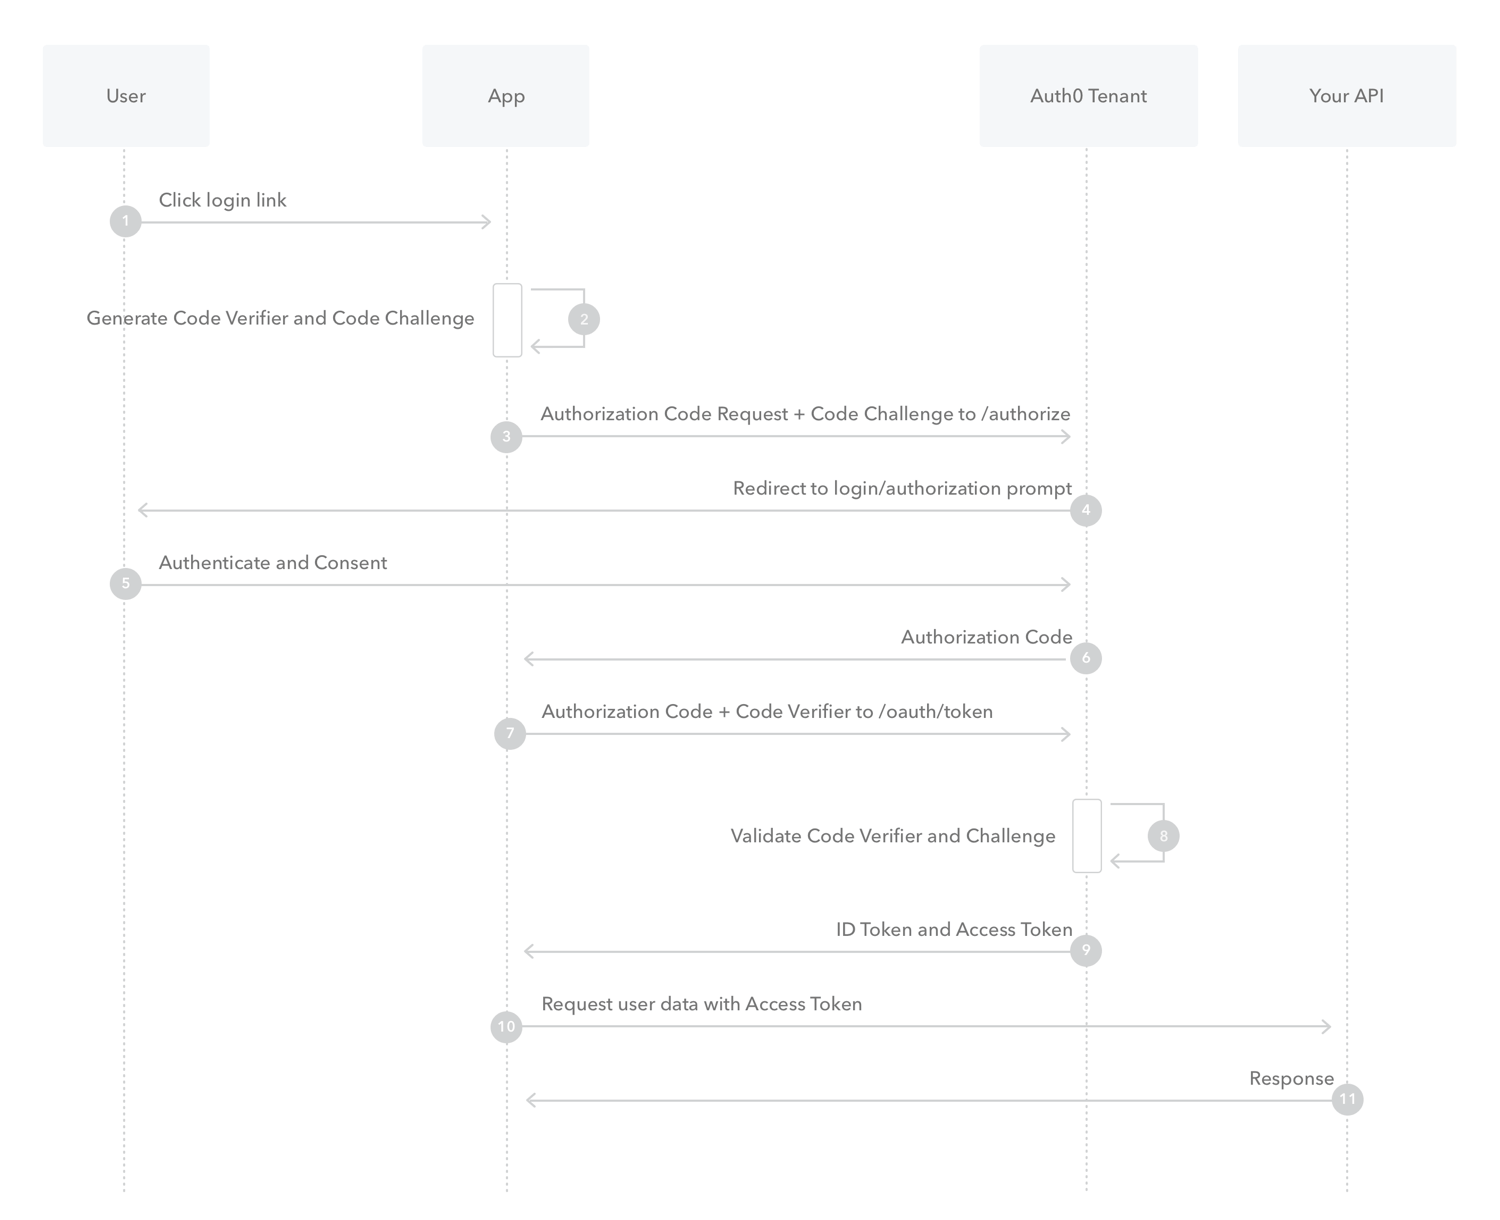
Auth0 also created a helpful guide onbuilding your own solution as part of the Add Login Using the Authorization Code Flow with PKCE guide.
Swift Implementation
I will implement all necessary steps in a class.
public class OAuth2PKCEAuthenticator: NSObject {

    public func authenticate(parameters: OAuth2PKCEParameters, completion: @escaping (Result<AccessTokenResponse, OAuth2PKCEAuthenticatorError>) -> Void) {
        // 1. creates a cryptographically-random code_verifier

        // 2. and from this generates a code_challenge.

        // 3. redirects the user to the authorization server along with the code_challenge.

        // 4. sends this code and the code_verifier (created in step 2) to the authorization server (token endpoint).

    }
}
All parameters needed will be passed into to the class as a struct.
public struct OAuth2PKCEParameters {
    public var authorizeUrl: String
    public var tokenUrl: String
    public var clientId: String
    public var redirectUri: String
    public var callbackURLScheme: String
}
The function shall asynchronously return either the access token response from the authorization server or an error.
public struct AccessTokenResponse: Codable {
    public var access_token: String
    public var expires_in: Int
}

public enum OAuth2PKCEAuthenticatorError: LocalizedError {
    case authRequestFailed(Error)
    case authorizeResponseNoUrl
    case authorizeResponseNoCode
    case tokenRequestFailed(Error)
    case tokenResponseNoData
    case tokenResponseInvalidData(String)

    var localizedDescription: String {
        switch self {
        case .authRequestFailed(let error):
            return "authorization request failed: \(error.localizedDescription)"
        case .authorizeResponseNoUrl:
            return "authorization response does not include a url"
        case .authorizeResponseNoCode:
            return "authorization response does not include a code"
        case .tokenRequestFailed(let error):
            return "token request failed: \(error.localizedDescription)"
        case .tokenResponseNoData:
            return "no data received as part of token response"
        case .tokenResponseInvalidData(let reason):
            return "invalid data received as part of token response: \(reason)"
        }
    }
}
To redirect the user to the authorization server along with the code_challenge I'll use the ASWebAuthenticationSession from Apple's AuthenticationServices.
The complete implementation can be found here.
iOS Test App
I created an iOS test application to verify the PKCE implementation. To start the flow, the user will touch a button. The following code will then be executed.
// Example-specific values
let bundleIdentifier = Bundle.main.bundleIdentifier!
let auth0domain = "dev-f78zik4c.us.auth0.com"
let authorizeURL = "https://\(auth0domain)/authorize"
let tokenURL = "https://\(auth0domain)/oauth/token"
let clientId = "txfpmPJryrScEL9bu0jnHT55lFokXftO"
let redirectUri = "\(bundleIdentifier)://\(auth0domain)/ios/\(bundleIdentifier)/callback"

// Example-agnostic code
let parameters = OAuth2PKCEParameters(
  authorizeUrl: authorizeURL,
  tokenUrl: tokenURL,
  clientId: clientId,
  redirectUri: redirectUri,
  callbackURLScheme: bundleIdentifier)

let authenticator = OAuth2PKCEAuthenticator()
authenticator.authenticate(parameters: parameters) { result in
  var message: String = ""
  switch result {
  case .success(let accessTokenResponse):
    message = accessTokenResponse.access_token
  case .failure(let error):
    message = error.localizedDescription
  }

  let alert = UIAlertController(
    title: "Result",
    message: message,
    preferredStyle: .alert)
  alert.addAction(.init(title: "Ok", style: .default, handler: nil))
  DispatchQueue.main.async {
    self.present(alert, animated: true, completion: nil)
  }
}
The complete code for the test app can be in one of my GitHub repositories.
The authorization server used for testing by the app is from Auth0. I'll explain how to create an own account in the next chapter. No worries, it is straightforward, and it's free.
Test Environment with Auth0
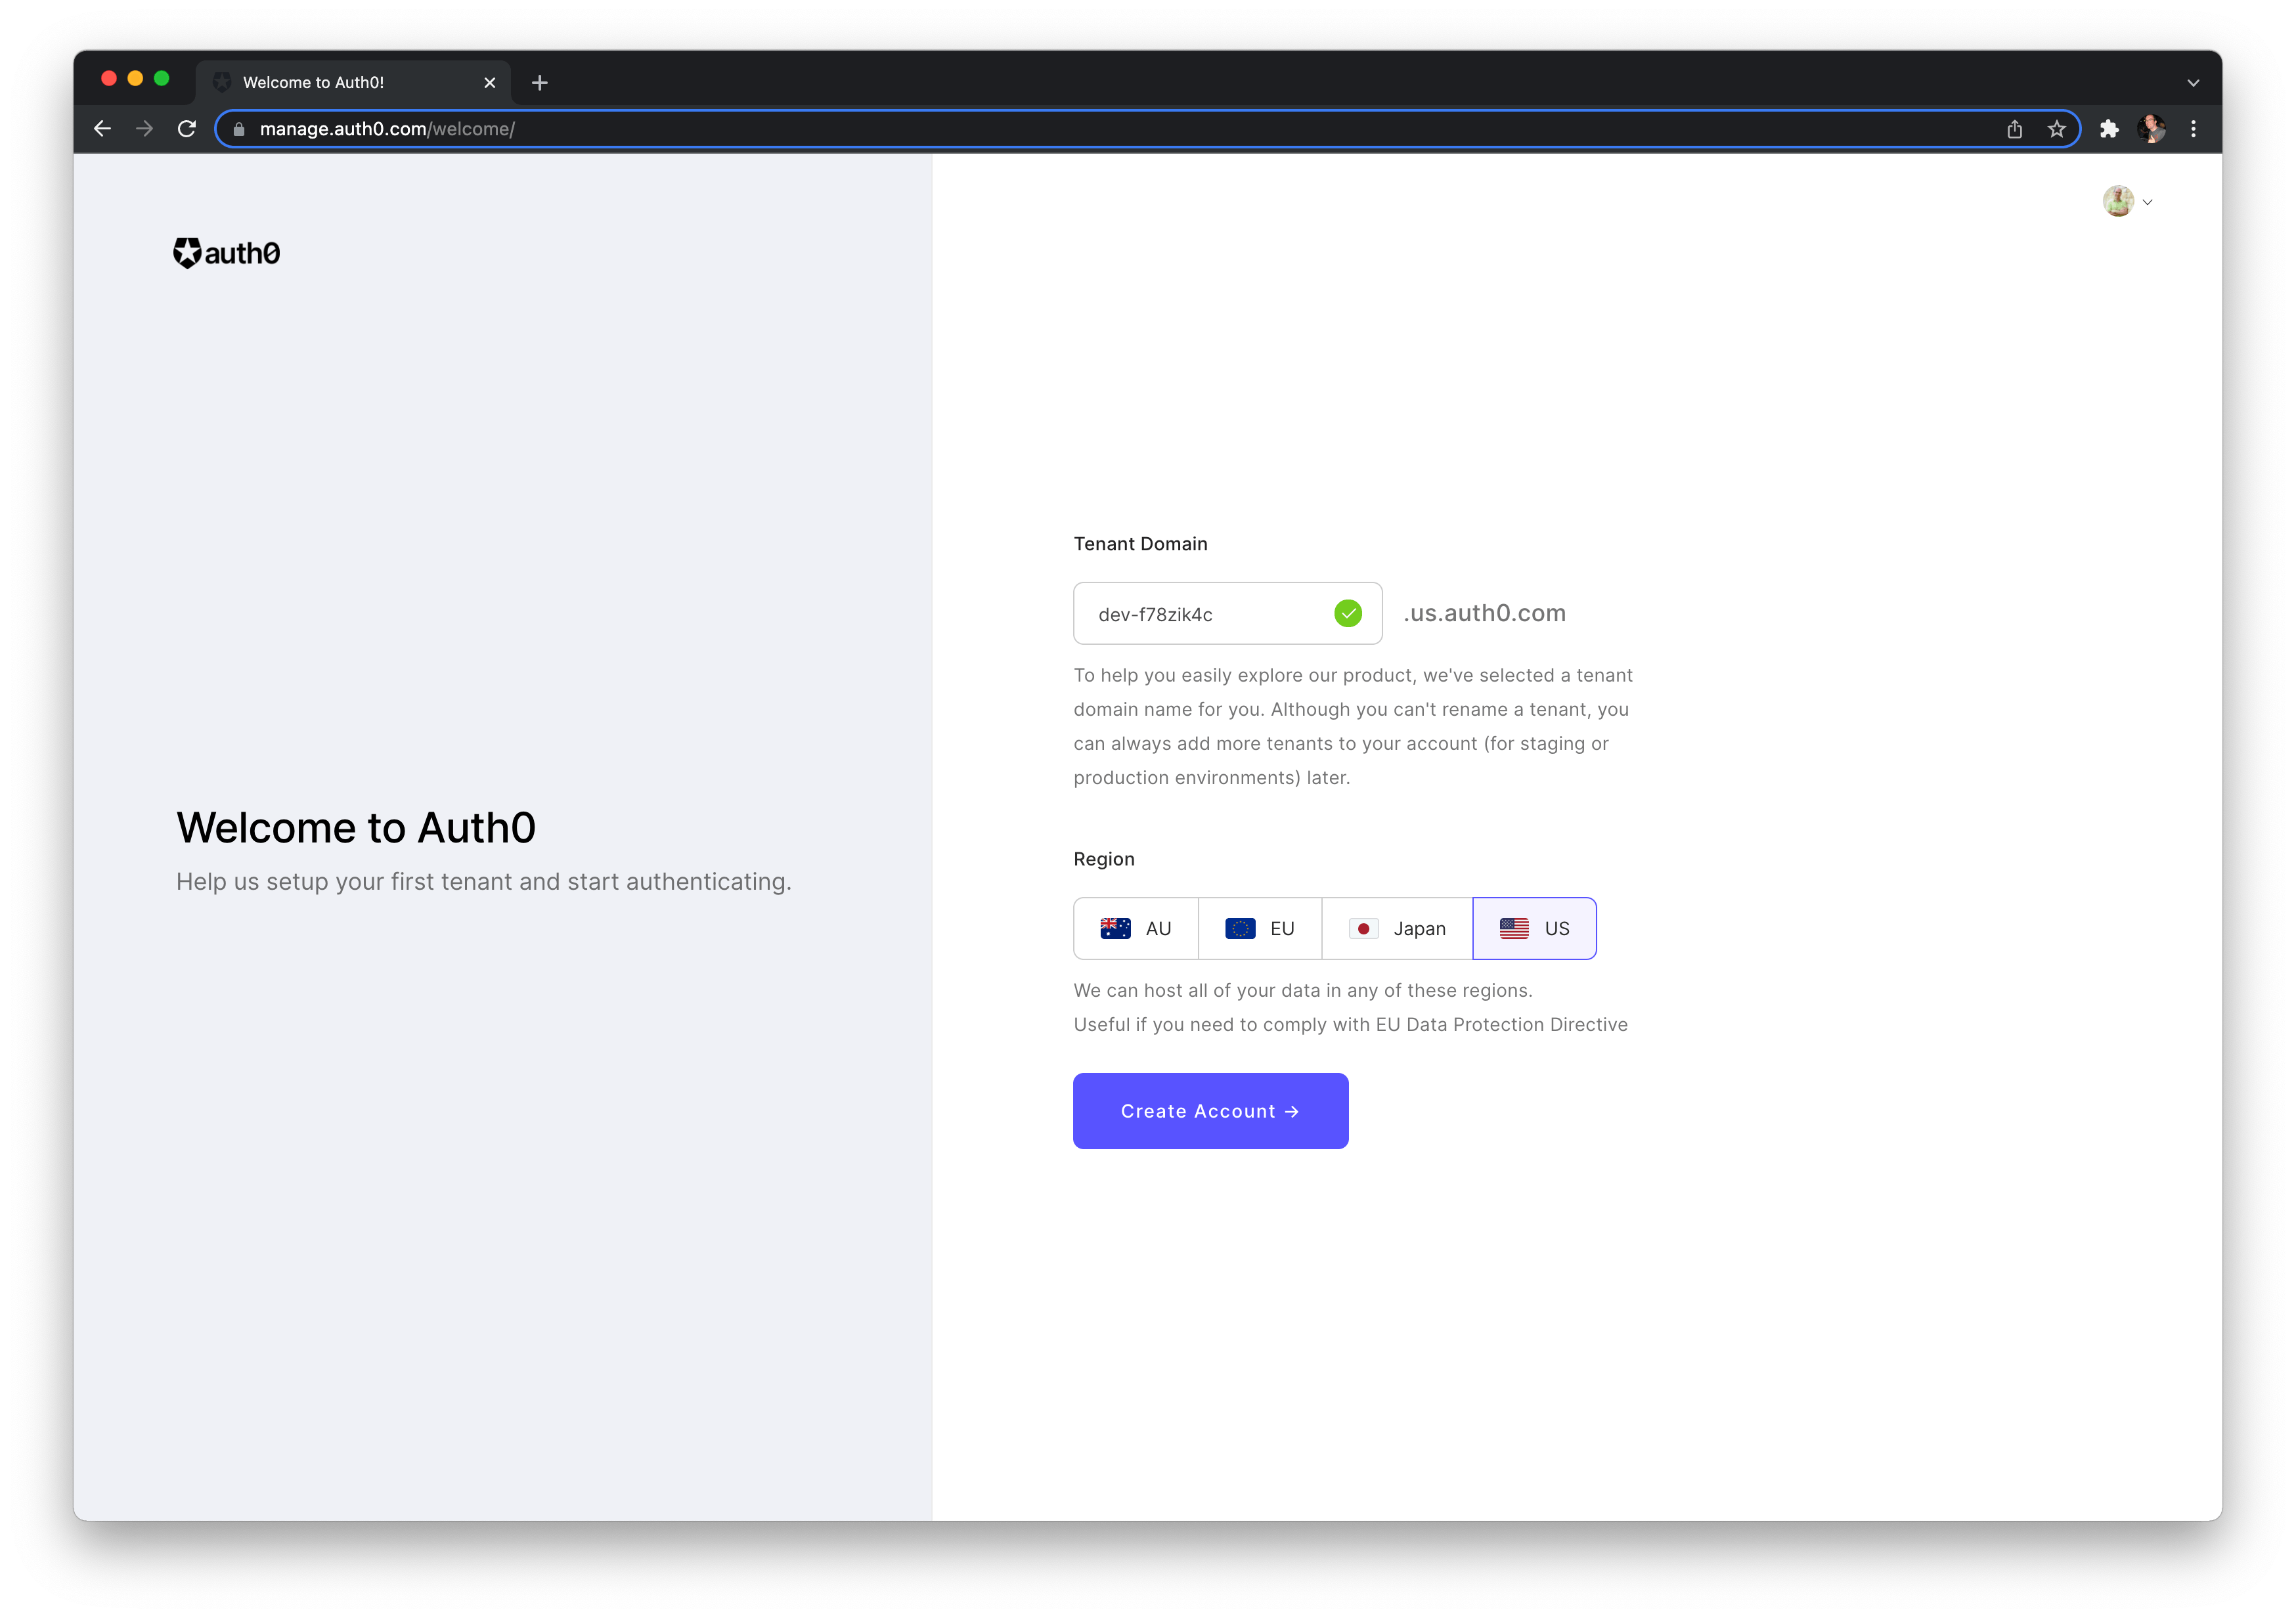
Sign-up for Auth0 (free starter plan) is quick and easy by using your existing GitHub account

You then can choose a region and create your Auth0 account.
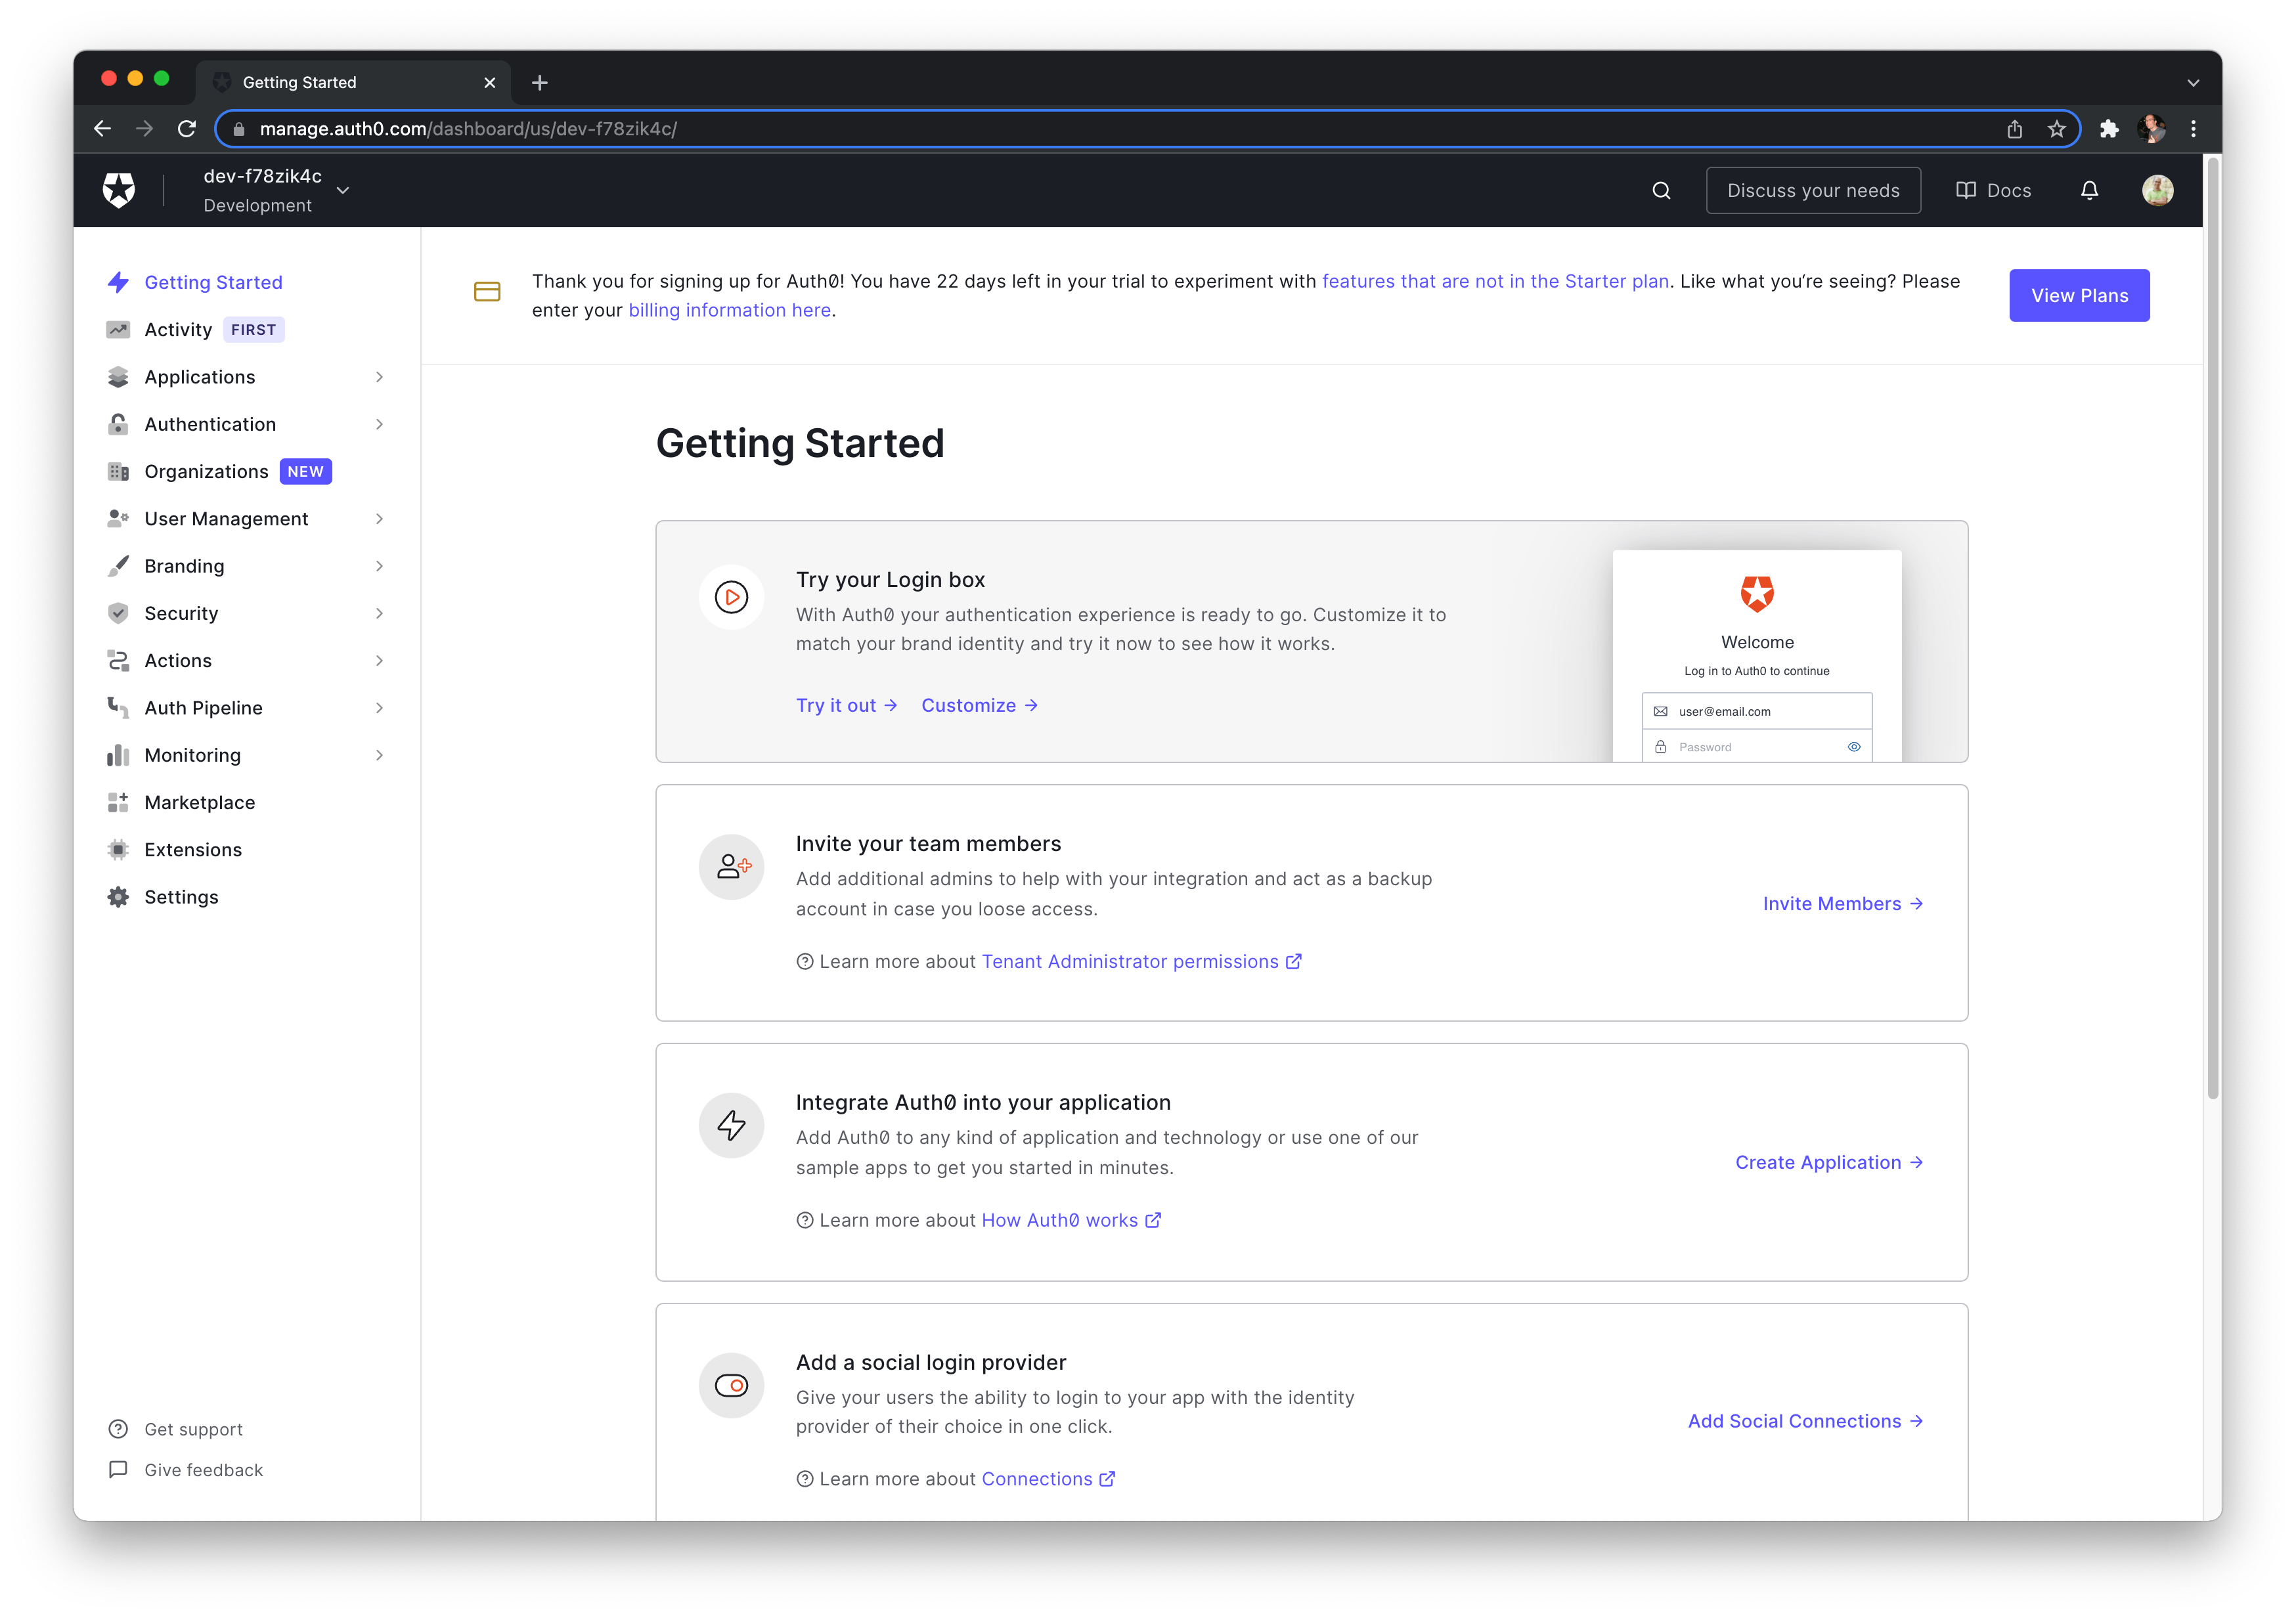
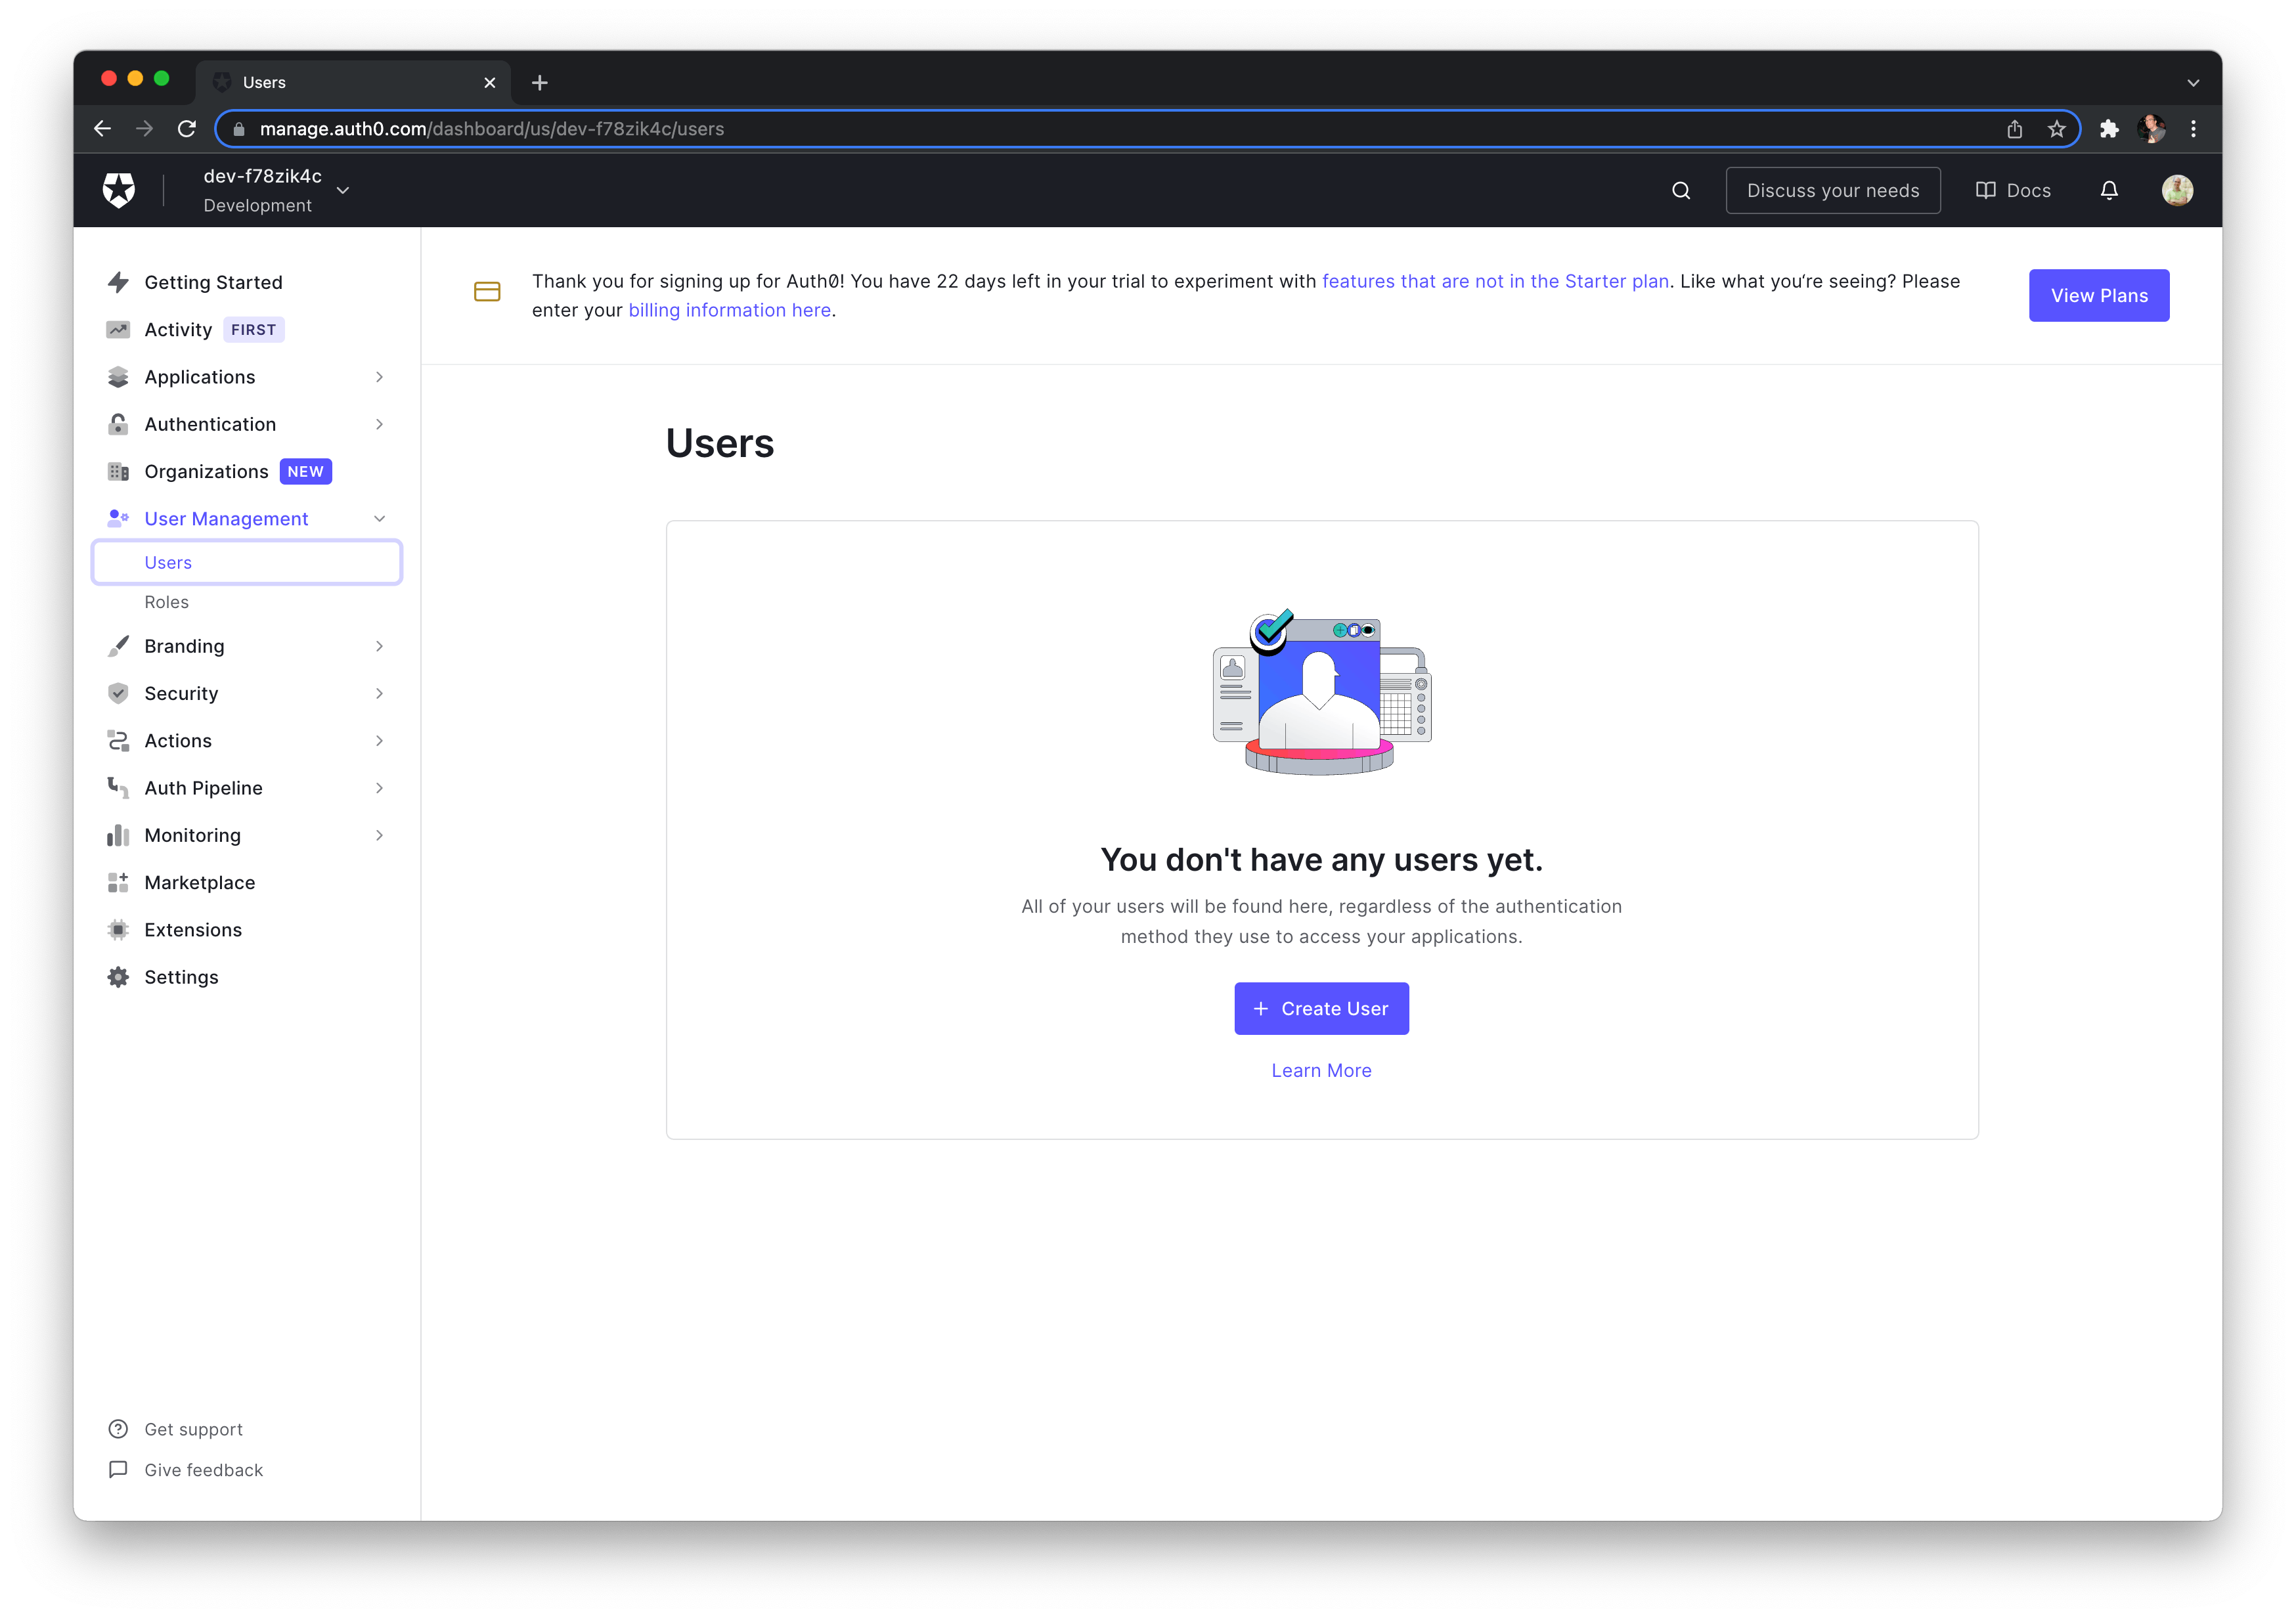
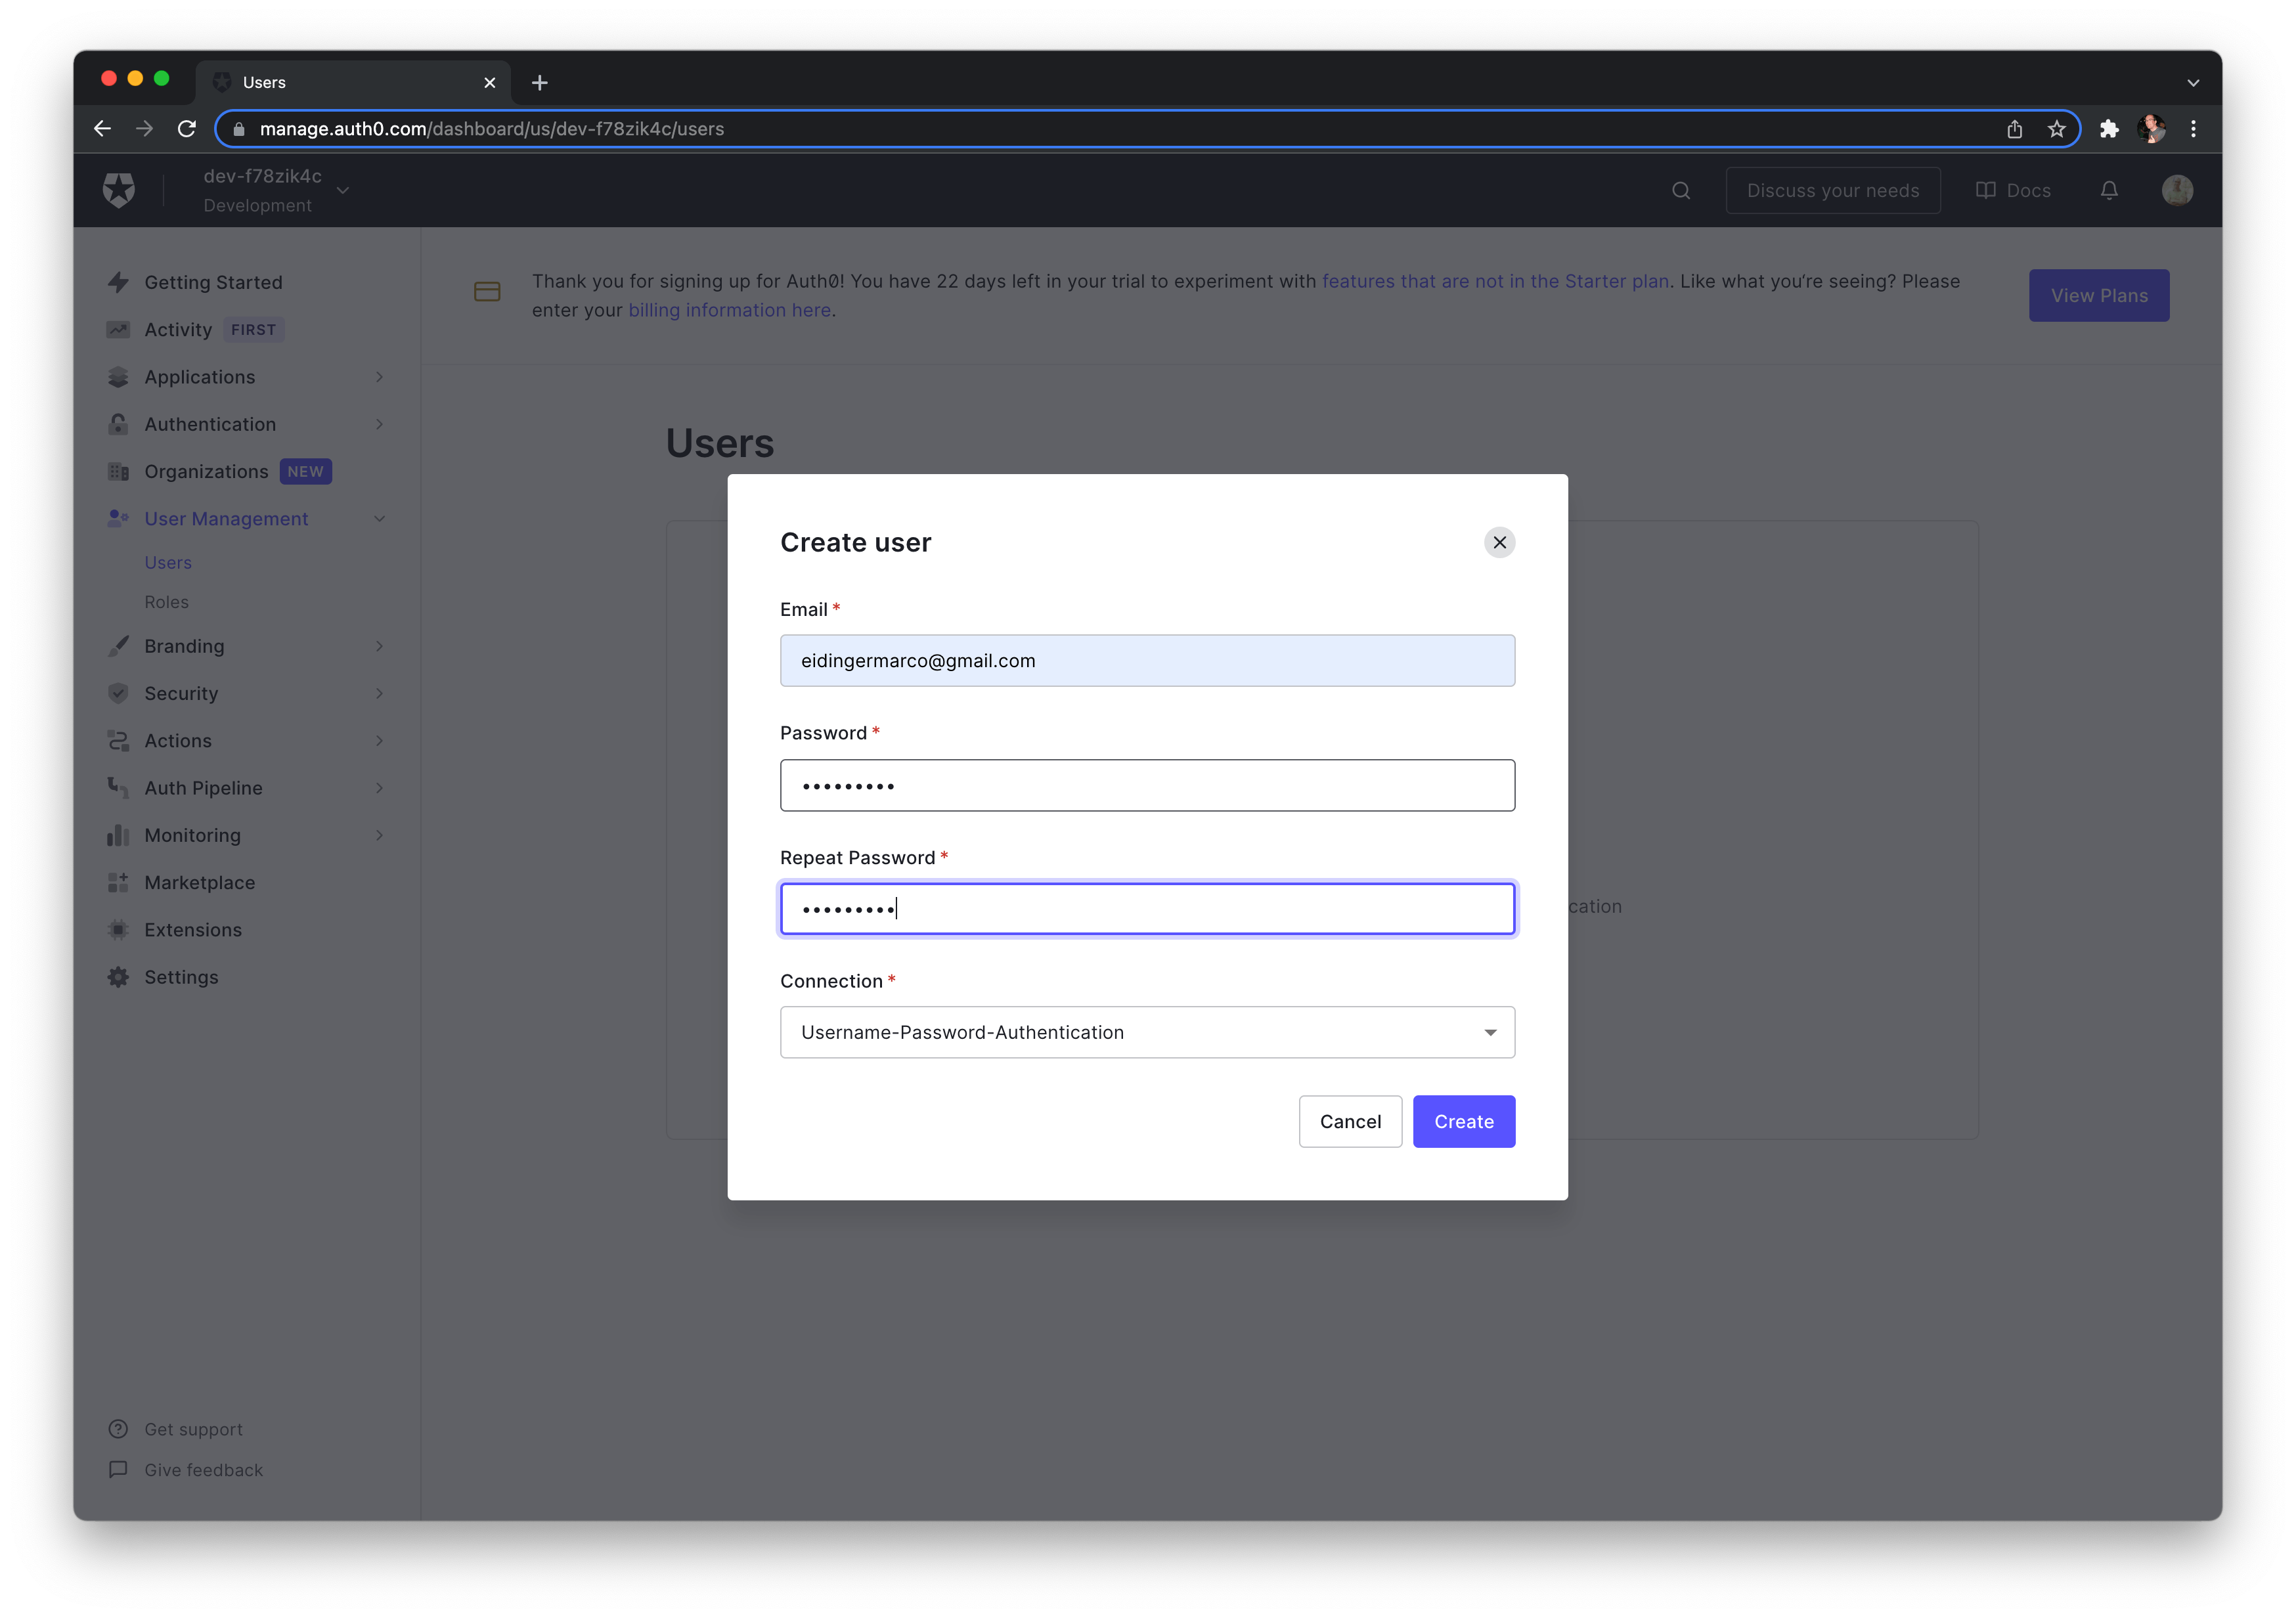
Let's create a user for testing.
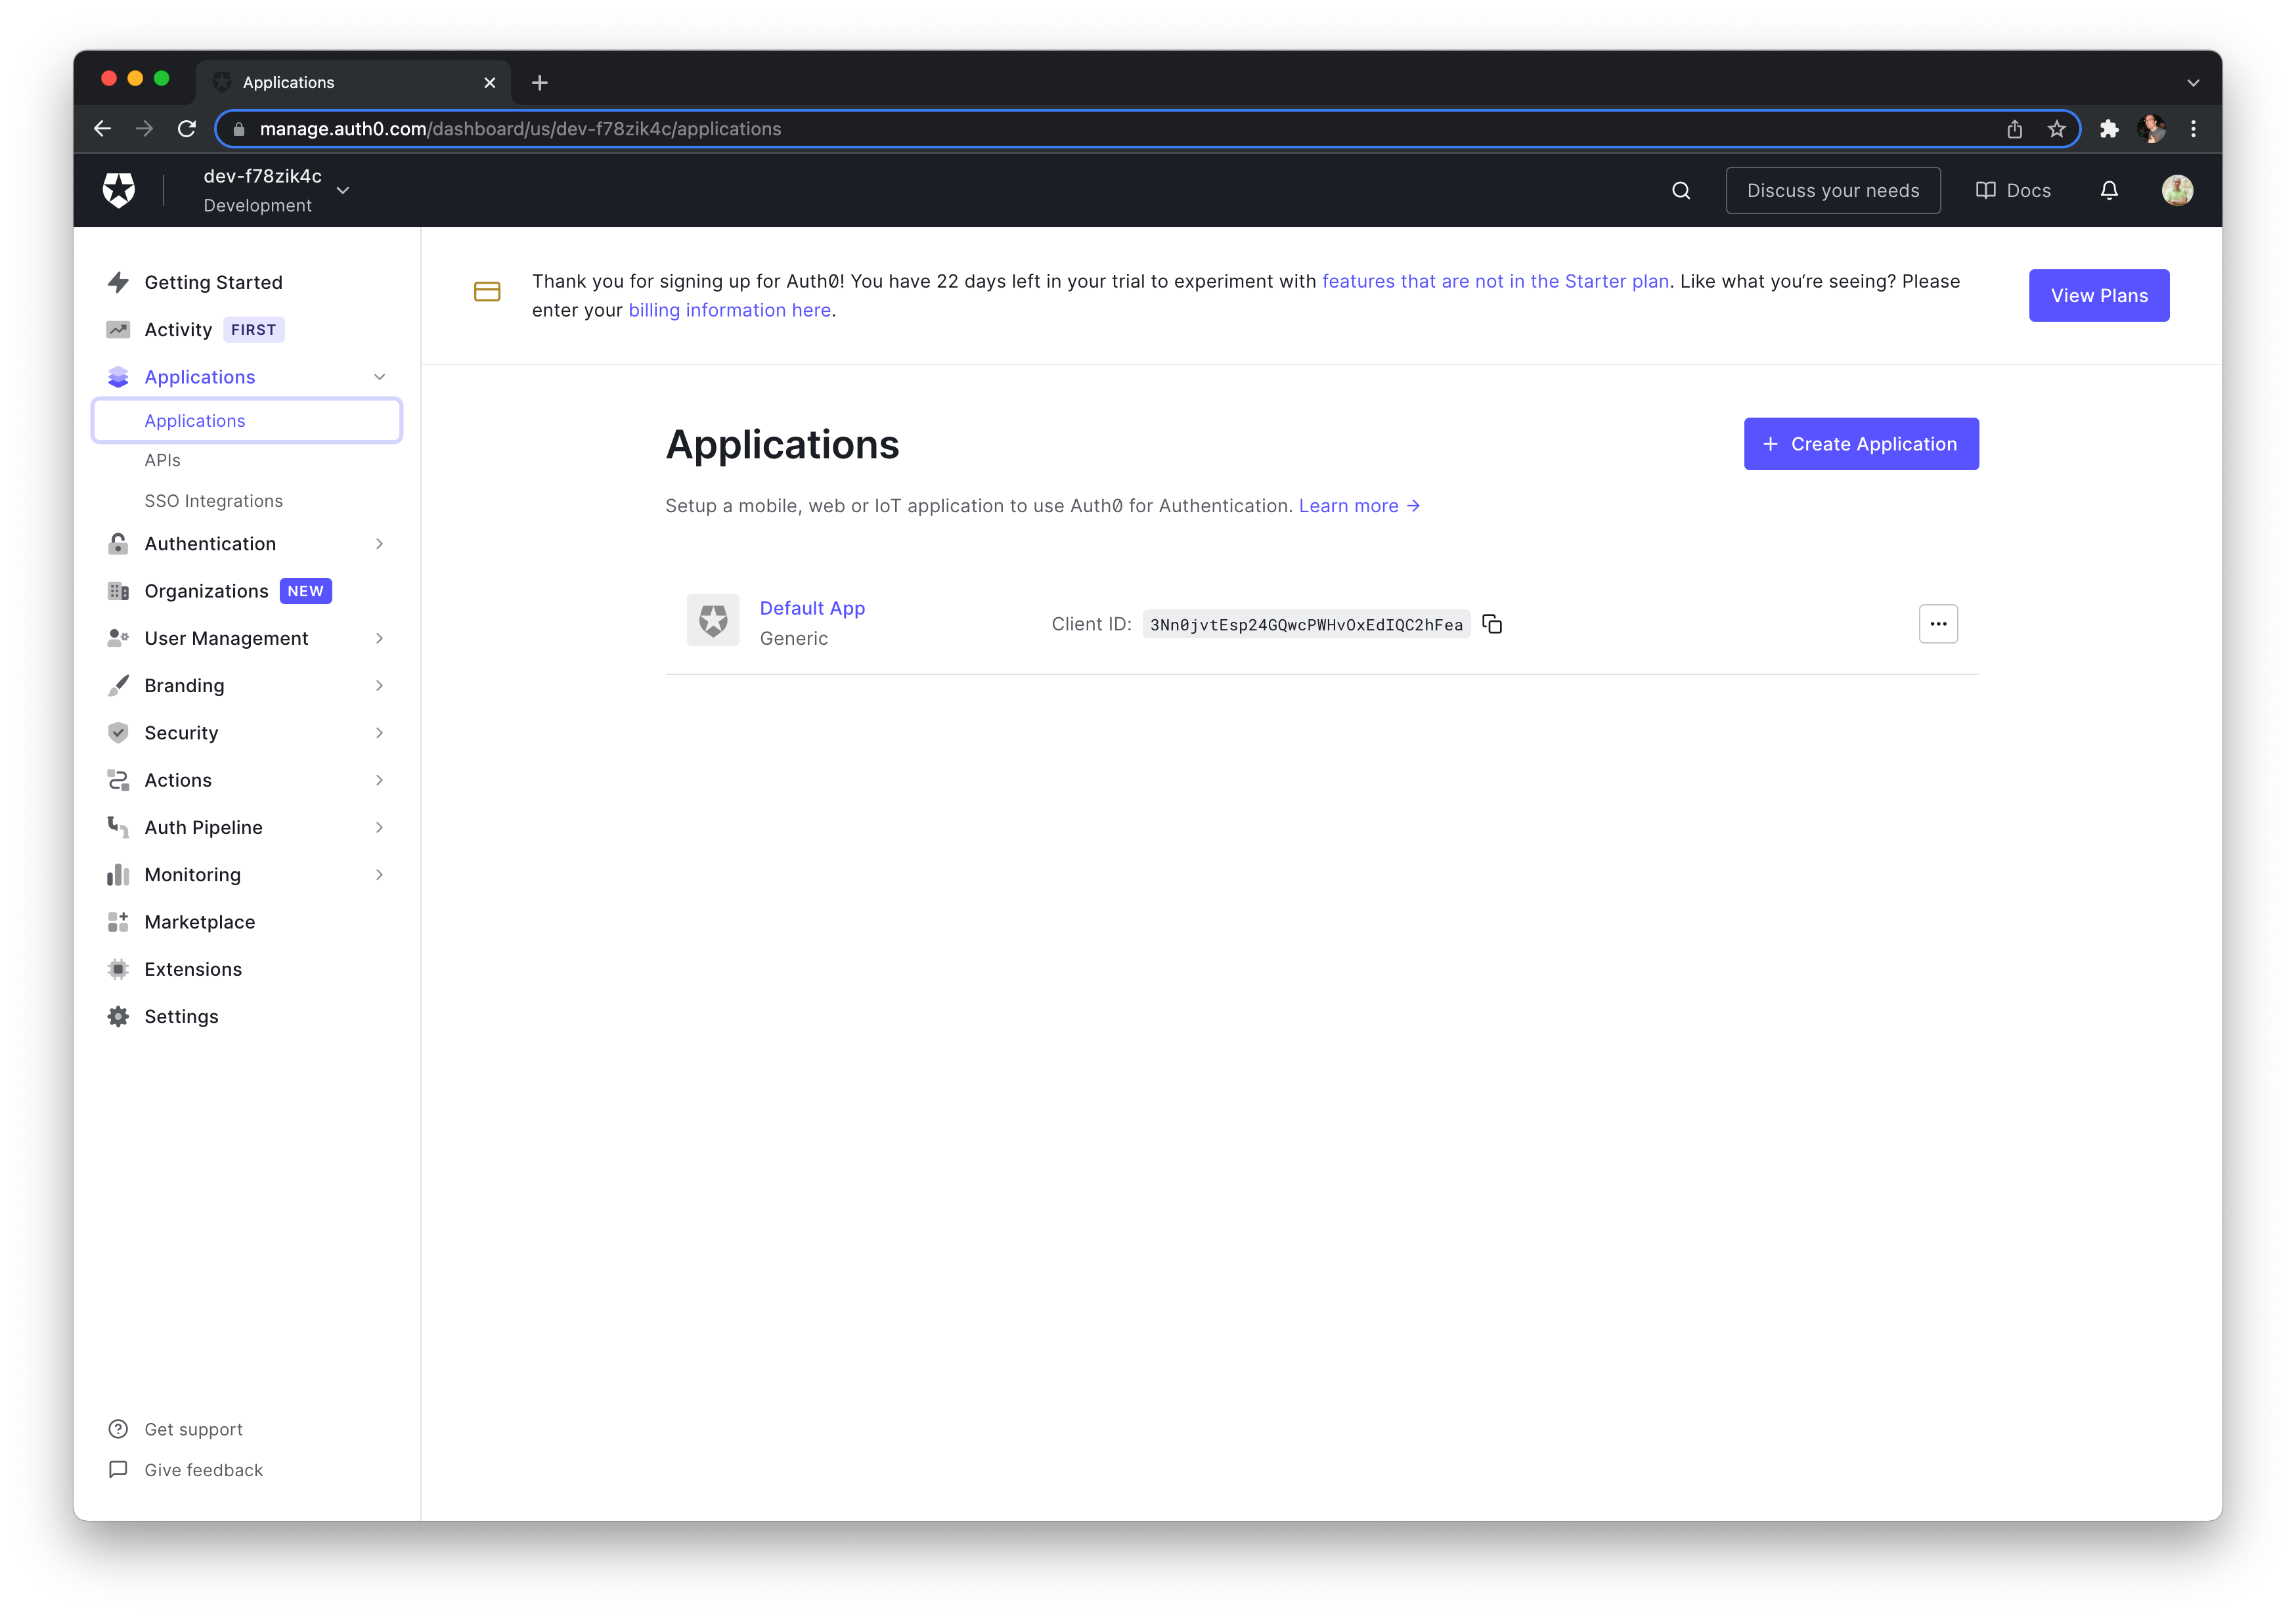
Let's create a new native application.

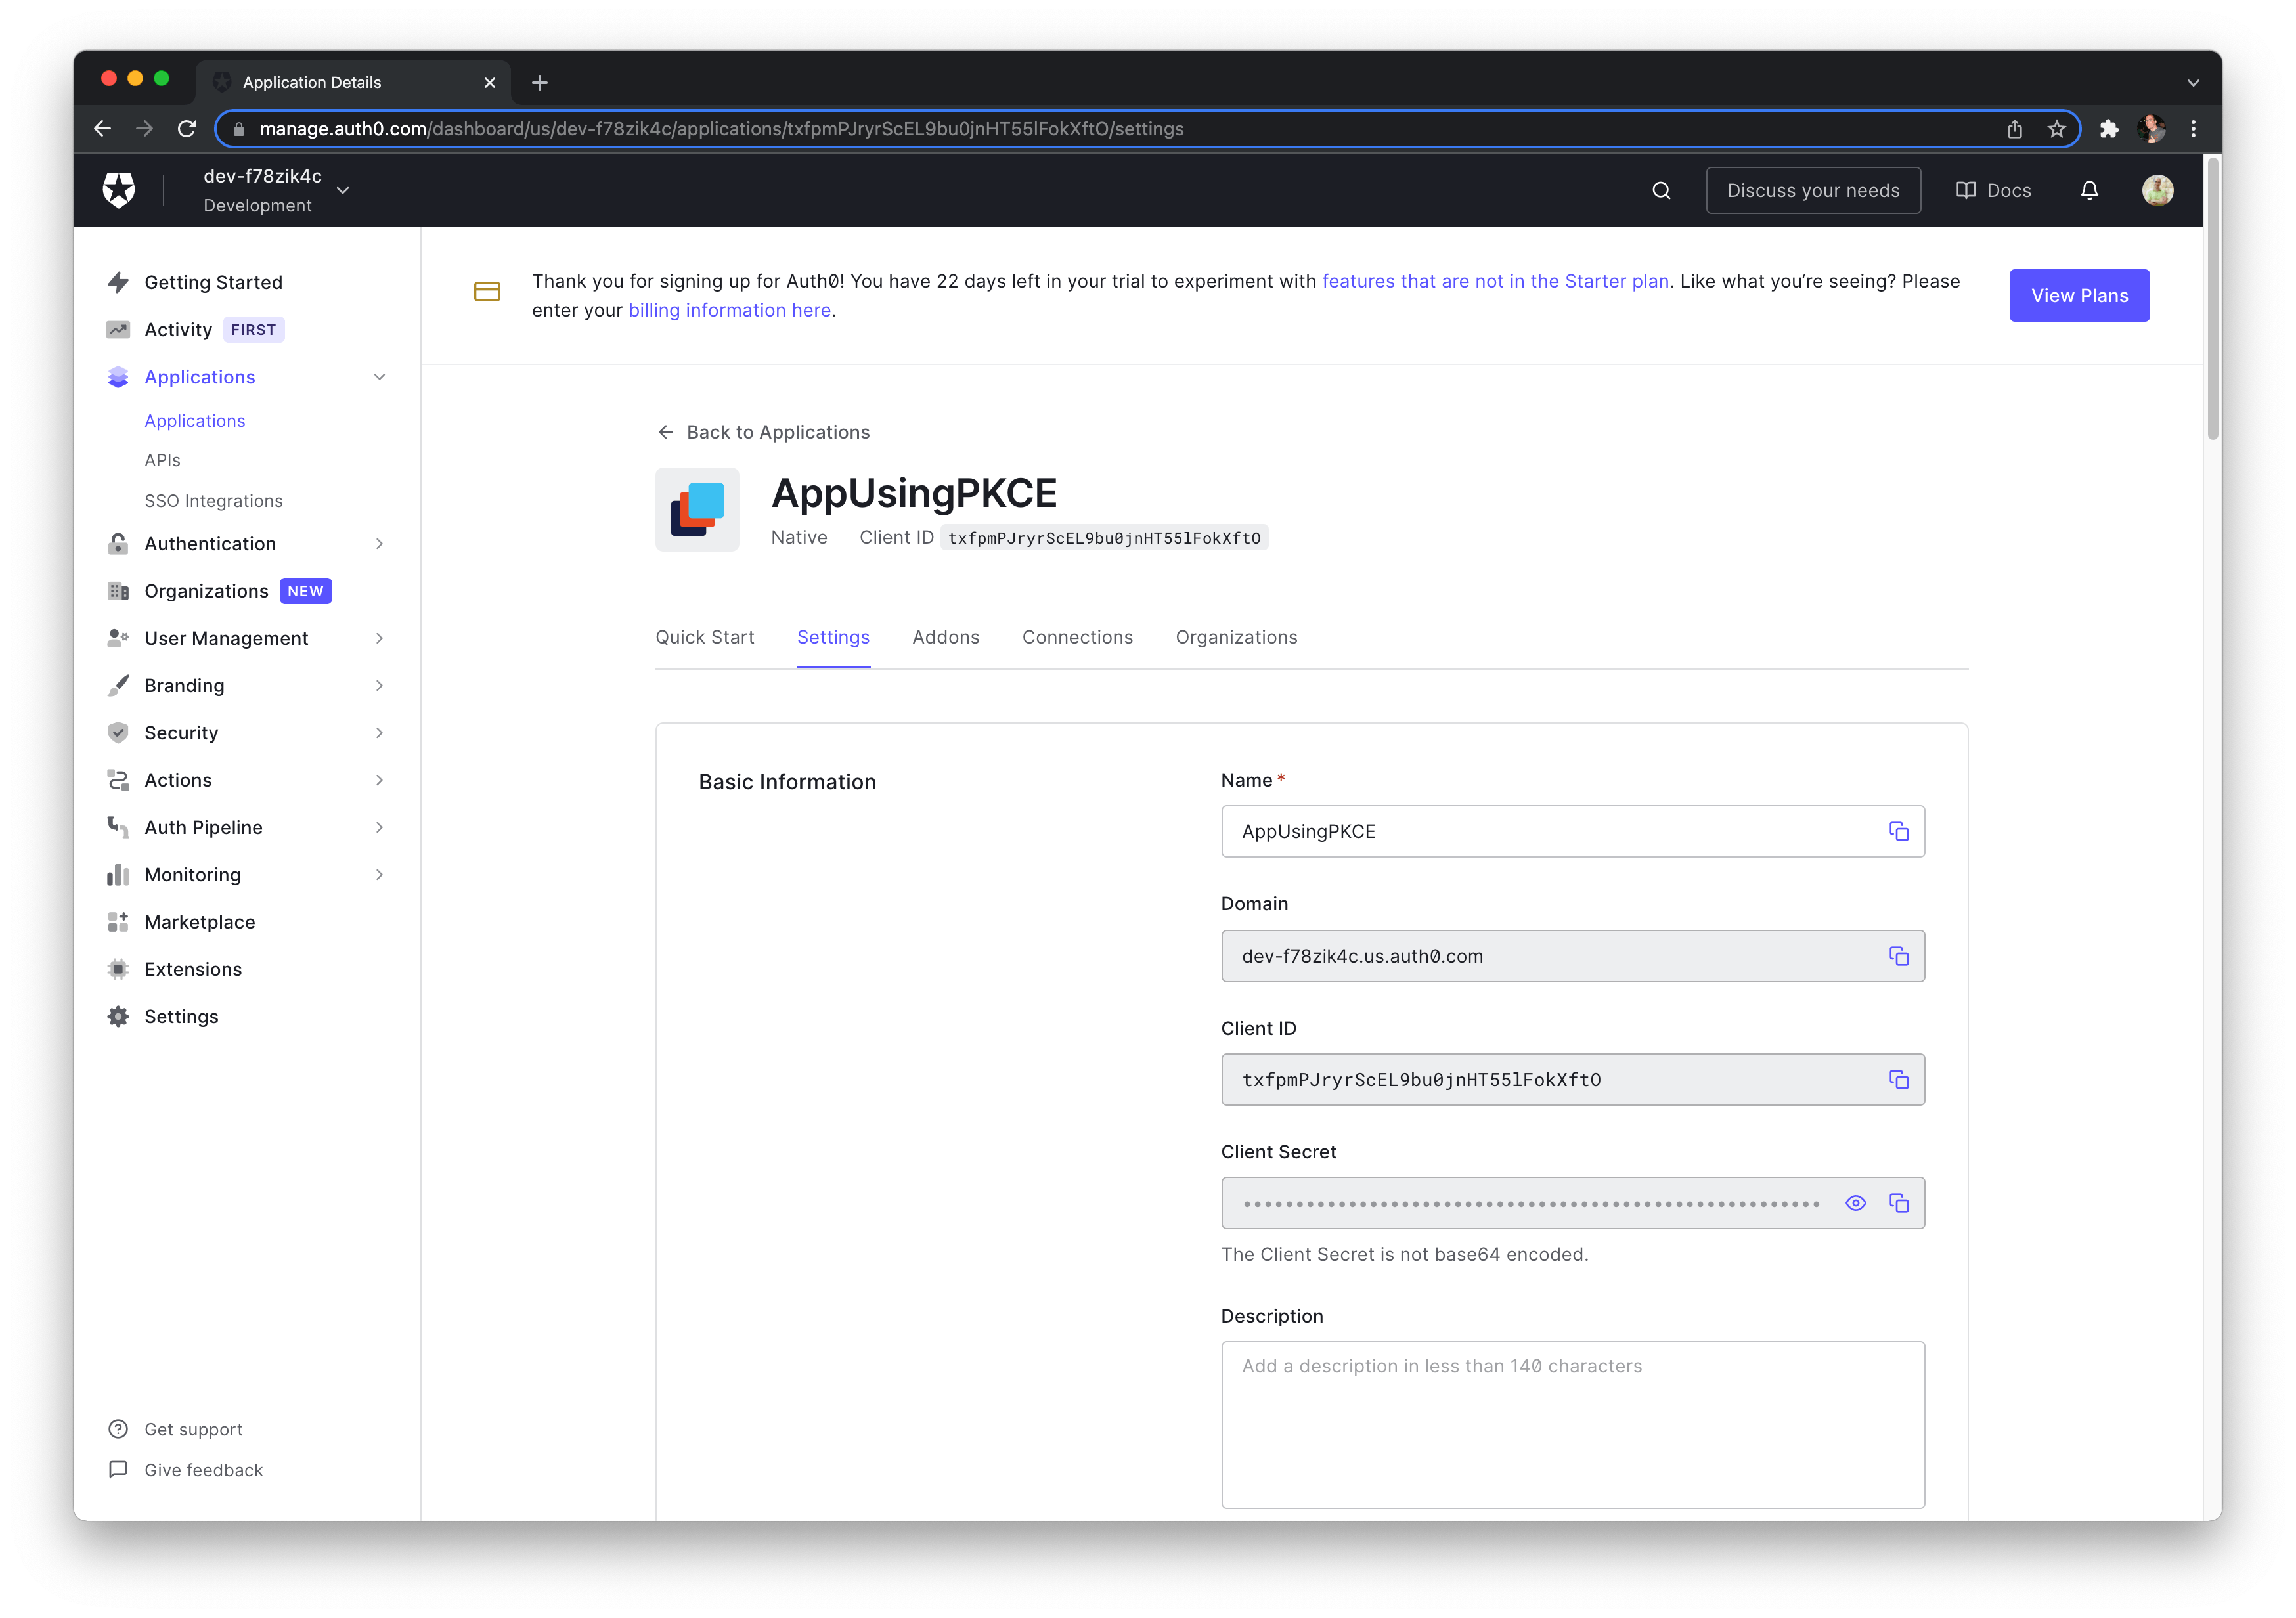
You will need to use the Domain and the Client ID later in Swift.
You have to specify the allowed Callback and Logout URLs based on the iOS app bundle identifier (the test app is using us.eidinger.AppUsingPKCE).
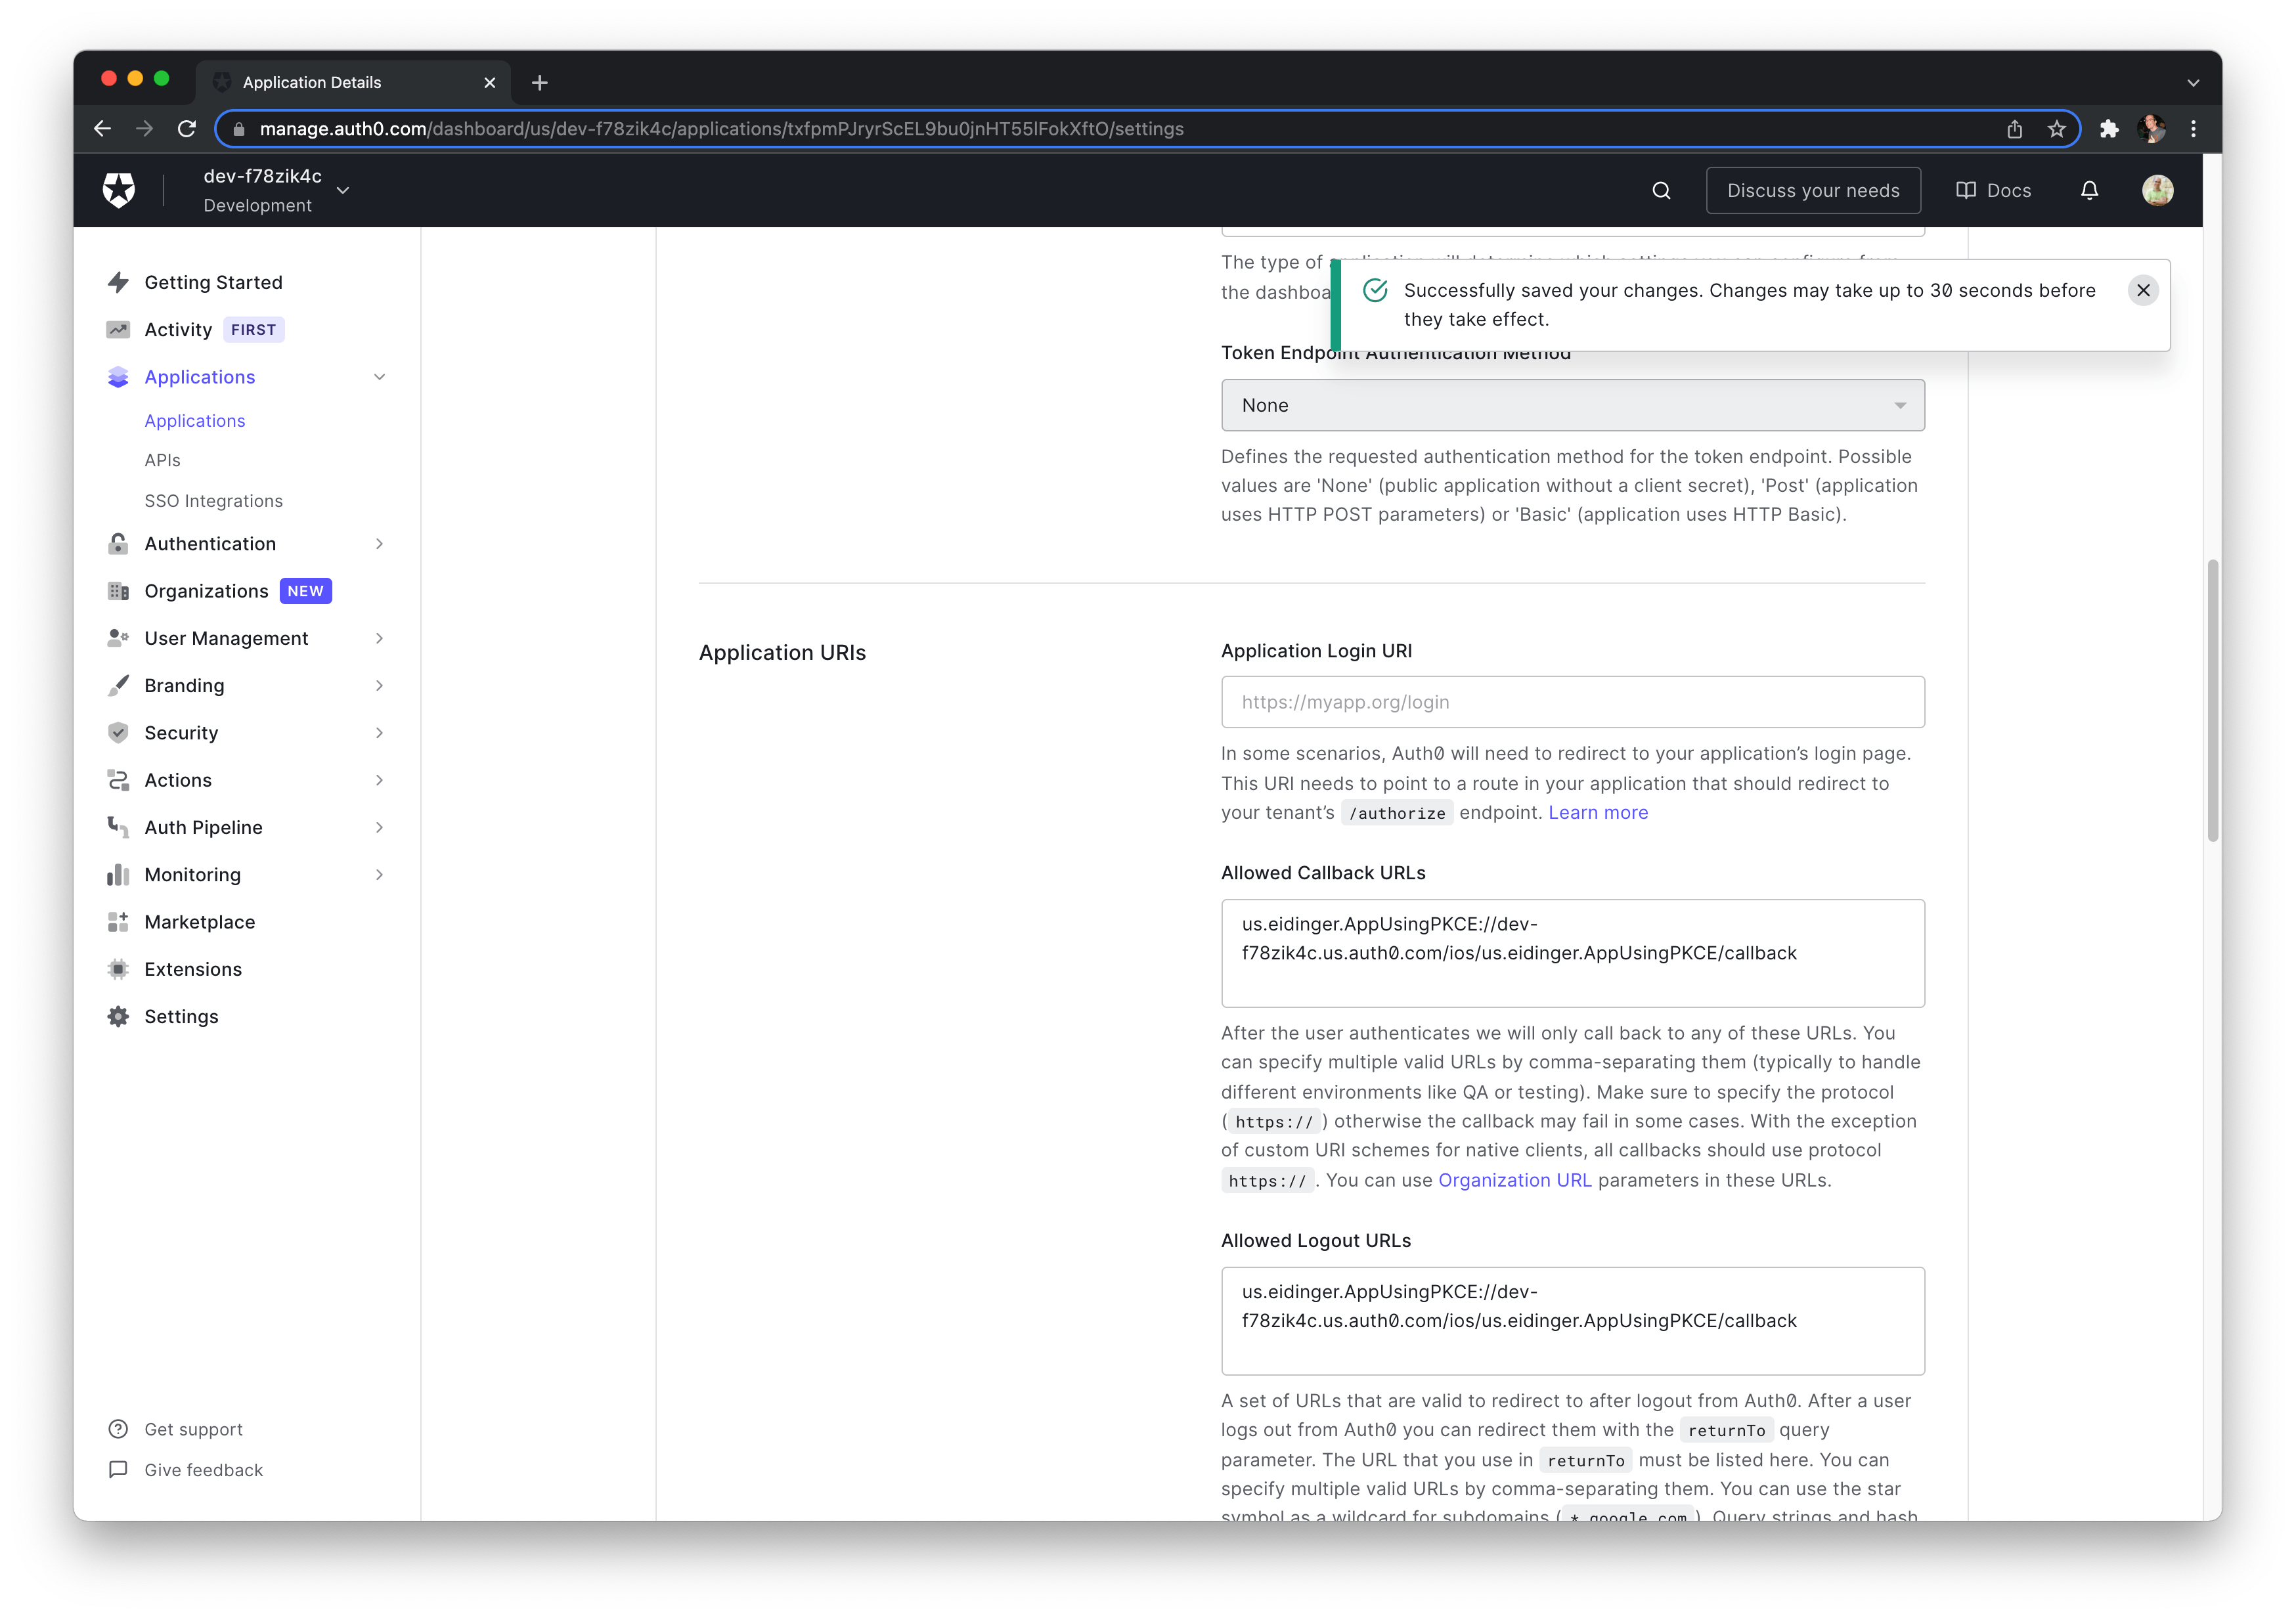
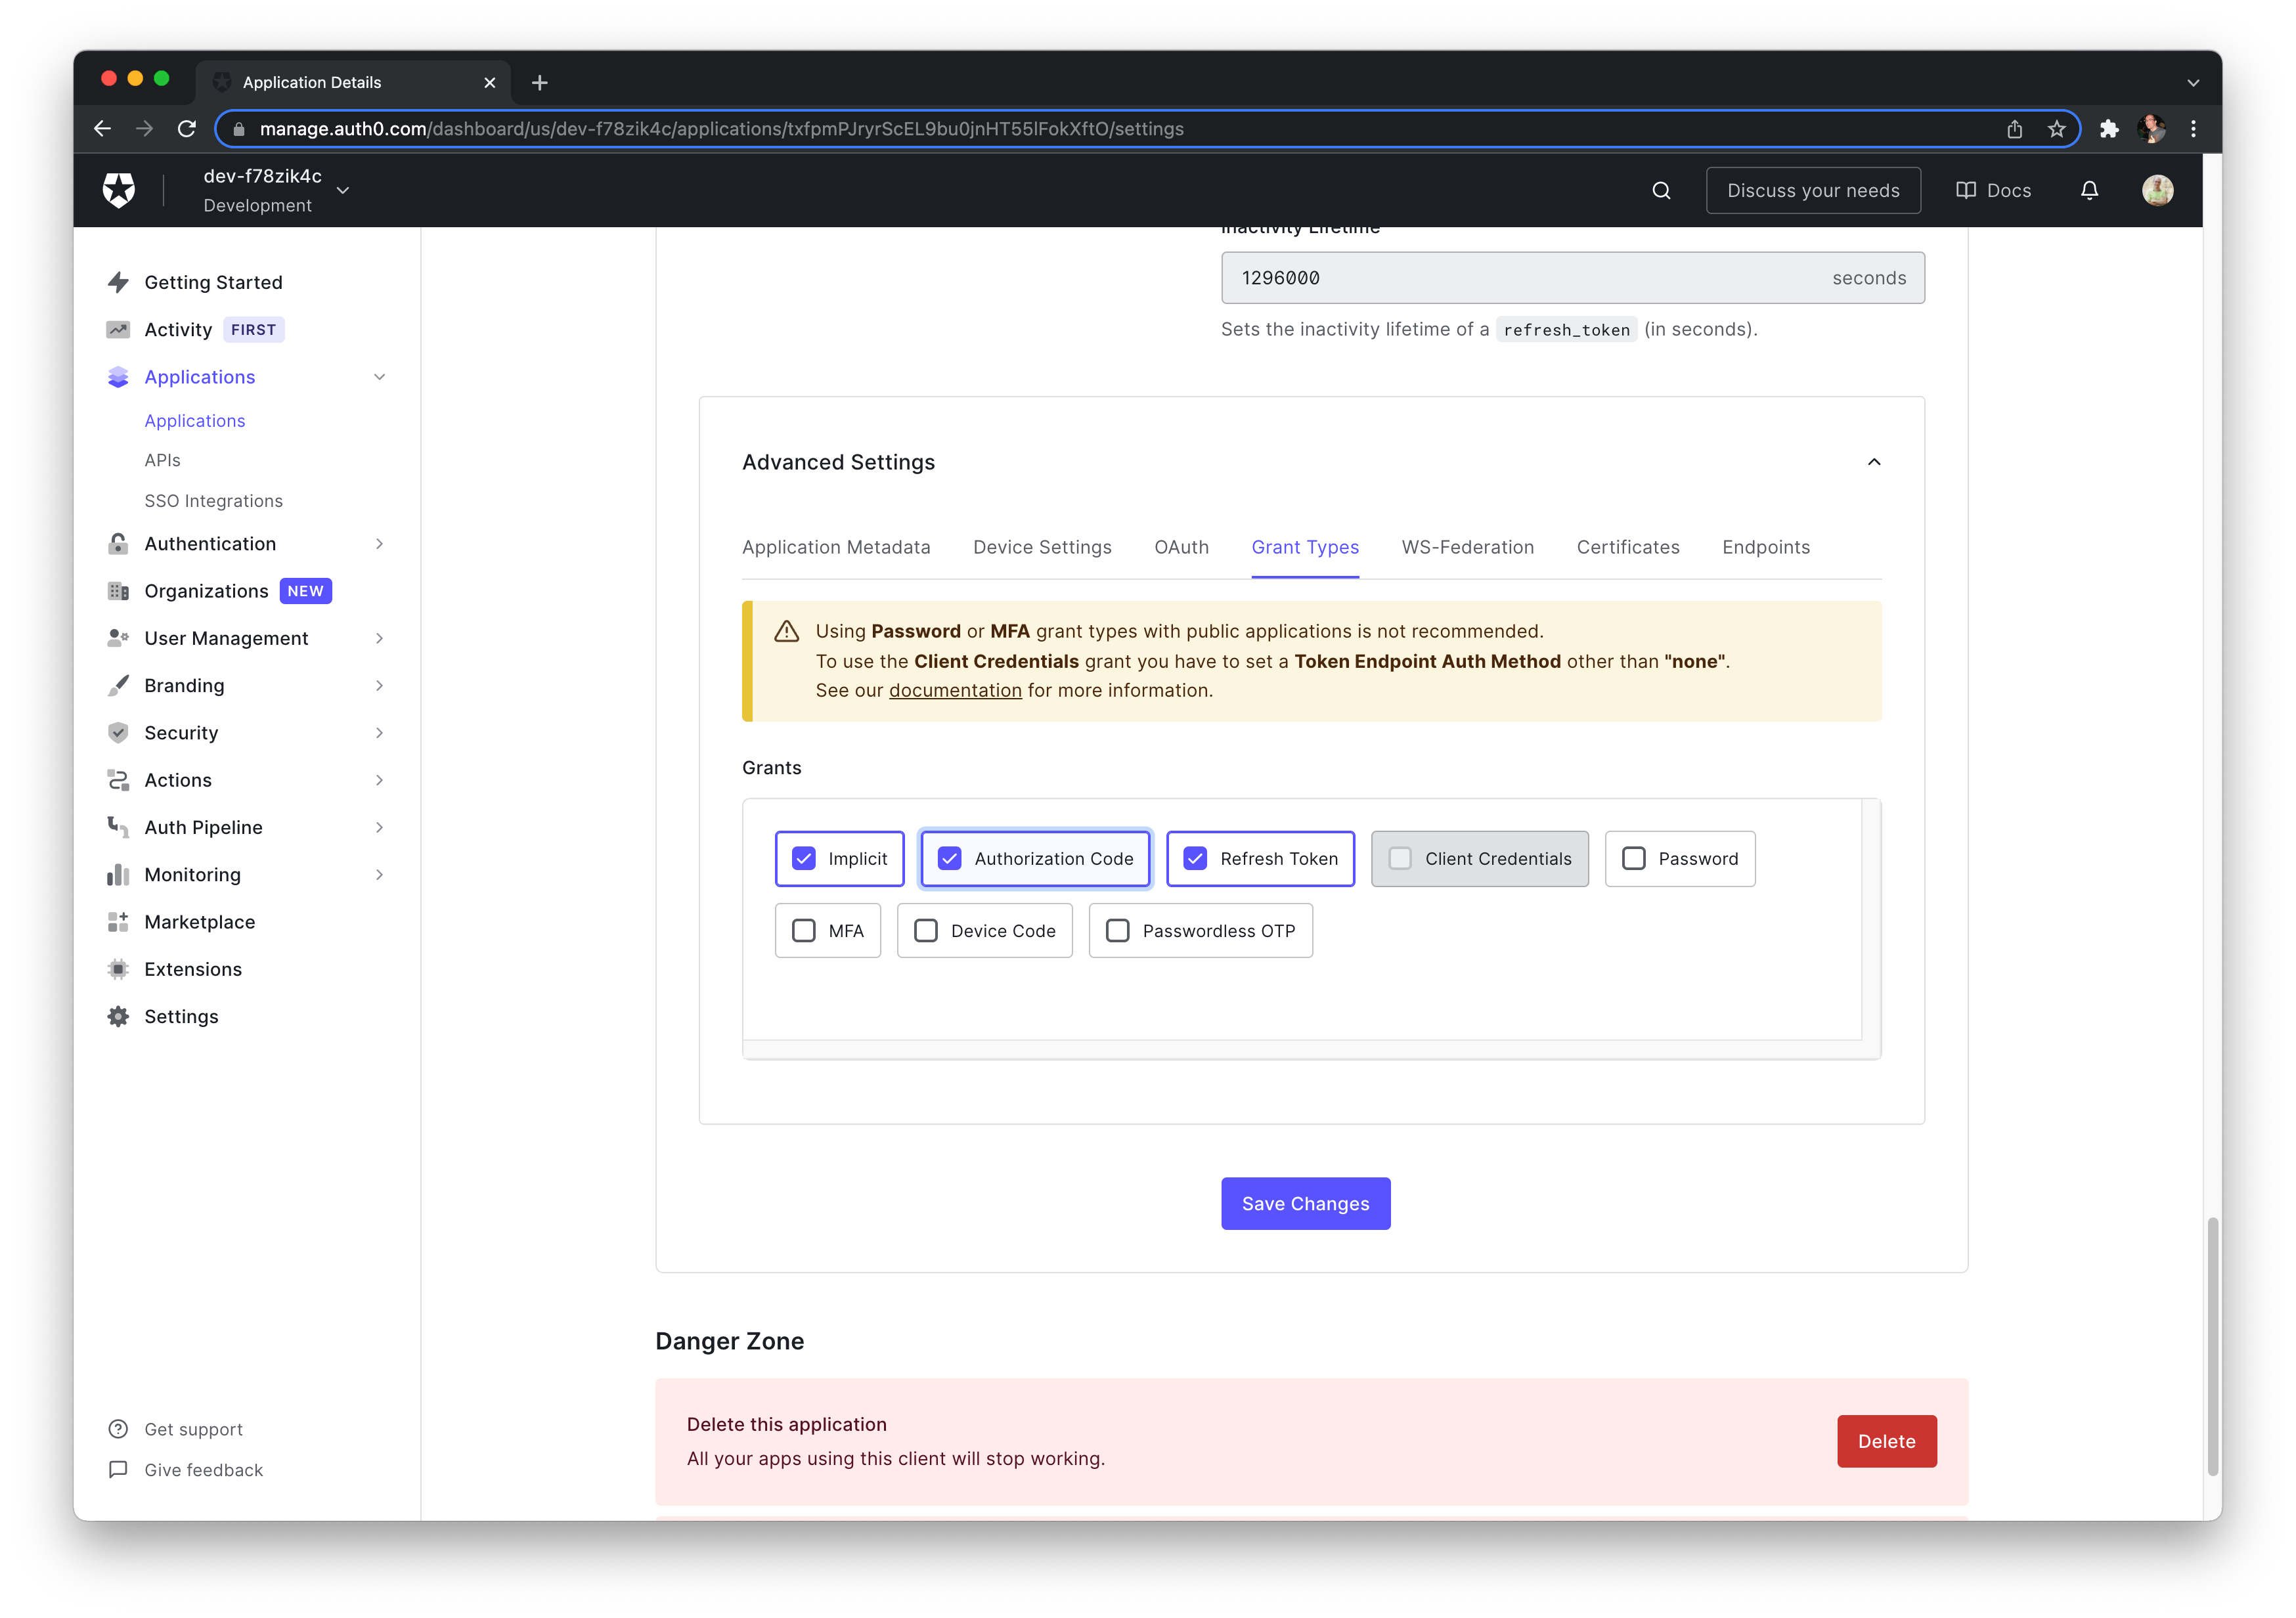
Let's double-check that Authorization Code Grant is set (it should be as that's the default) and save the changes.
Running Test App
Using the client id, domain we can instrument the demo app
// Example-specific values
let bundleIdentifier = Bundle.main.bundleIdentifier!
let auth0domain = "dev-f78zik4c.us.auth0.com"
let authorizeURL = "https://\(auth0domain)/authorize"
let tokenURL = "https://\(auth0domain)/oauth/token"
let clientId = "txfpmPJryrScEL9bu0jnHT55lFokXftO"
let redirectUri = "\(bundleIdentifier)://\(auth0domain)/ios/\(bundleIdentifier)/callback"
and run it on the iOS simulator.

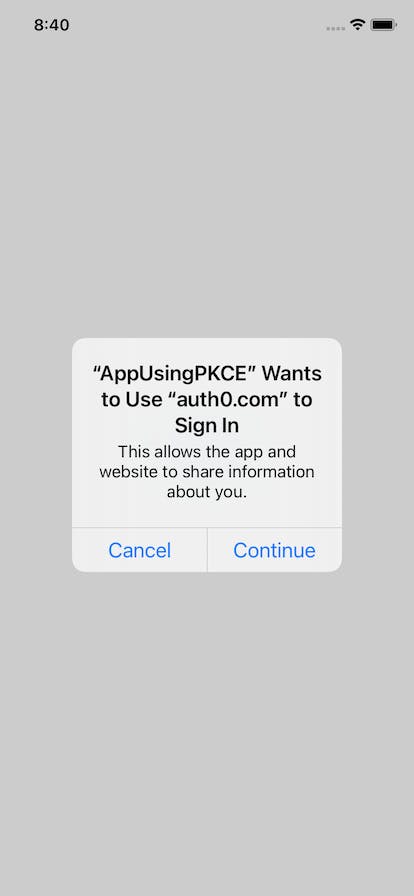
Touching the Sing In button will trigger ASWebAuthenticationSession to redirect the user to the authorization server.
Let's use the credentials of the user created in Auth0.
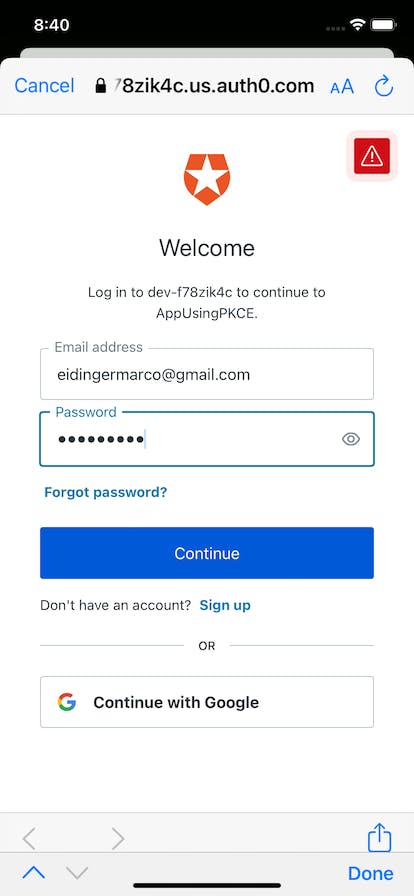
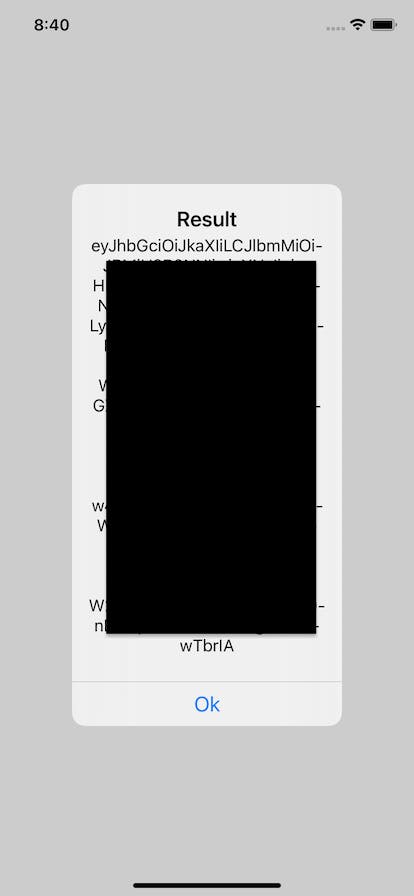
Touching the Continue button will return the control back to the test app. The flow will continue (i.e. get access token with the code received from authorization server and the code_verifier and finally display the received access token.
I hope this guide was helpful to get you familiar with PKCE and to give you an idea how you would implement it on the client with Swift.

