Photo by Alina Grubnyak on Unsplash
Make GraphQL requests in Swift
Reduce the number of network roundtrips and payload size
Table of contents
In this blog post, I'll introduce GraphQL and explain how you can send and process network requests with a GraphQL query in Swift without third-party libraries.
Motivation
GraphQL as a query language makes it easier for clients to ask for exactly what they need from an API.
This has two significant advantages:
- Smaller Payload due to "Getting the data you need and nothing more"
- Fewer network calls due to "Nested Fields"
As an example, let's imagine that a client wants to get the following information from a GitHub repository
- the number of stars for a repository
- release information from a repository (only the two latest) and
- git tag information of a repository (only the two latest)
Three network calls are necessary to retrieve the following information from the GitHub REST API:
- GET api.github.com/repos /{owner}/{repo}
- GET api.github.com/repos /{owner}/{repo}/releases
- GET api.github.com/repos /{owner}/{repo}/tags
The REST API would also return other fields not requested by the client.
Only one network call is required when using GraphQL. The requested fields are expressed through the GraphQL query.
-
{
repository(owner: "MarcoEidinger", name: "SwiftPlantUML") {
  stargazerCount
  nameWithOwner
  name
  url
  releases(orderBy: {direction: ASC, field: CREATED_AT}, last: 2) {
    nodes {
      isDraft
      isLatest
      isPrerelease
      createdAt
      tagName
    }
  }
  refs(
    refPrefix: "refs/tags/"
    last: 2
    orderBy: {field: TAG_COMMIT_DATE, direction: ASC}
  ) {
    edges {
      node {
        name
        target {
          ... on Commit {
            committedDate
          }
          ... on Tag {
            tagger {
              date
            }
          }
        }
      }
    }
  }
}
}
Example: GitHub GraphQL
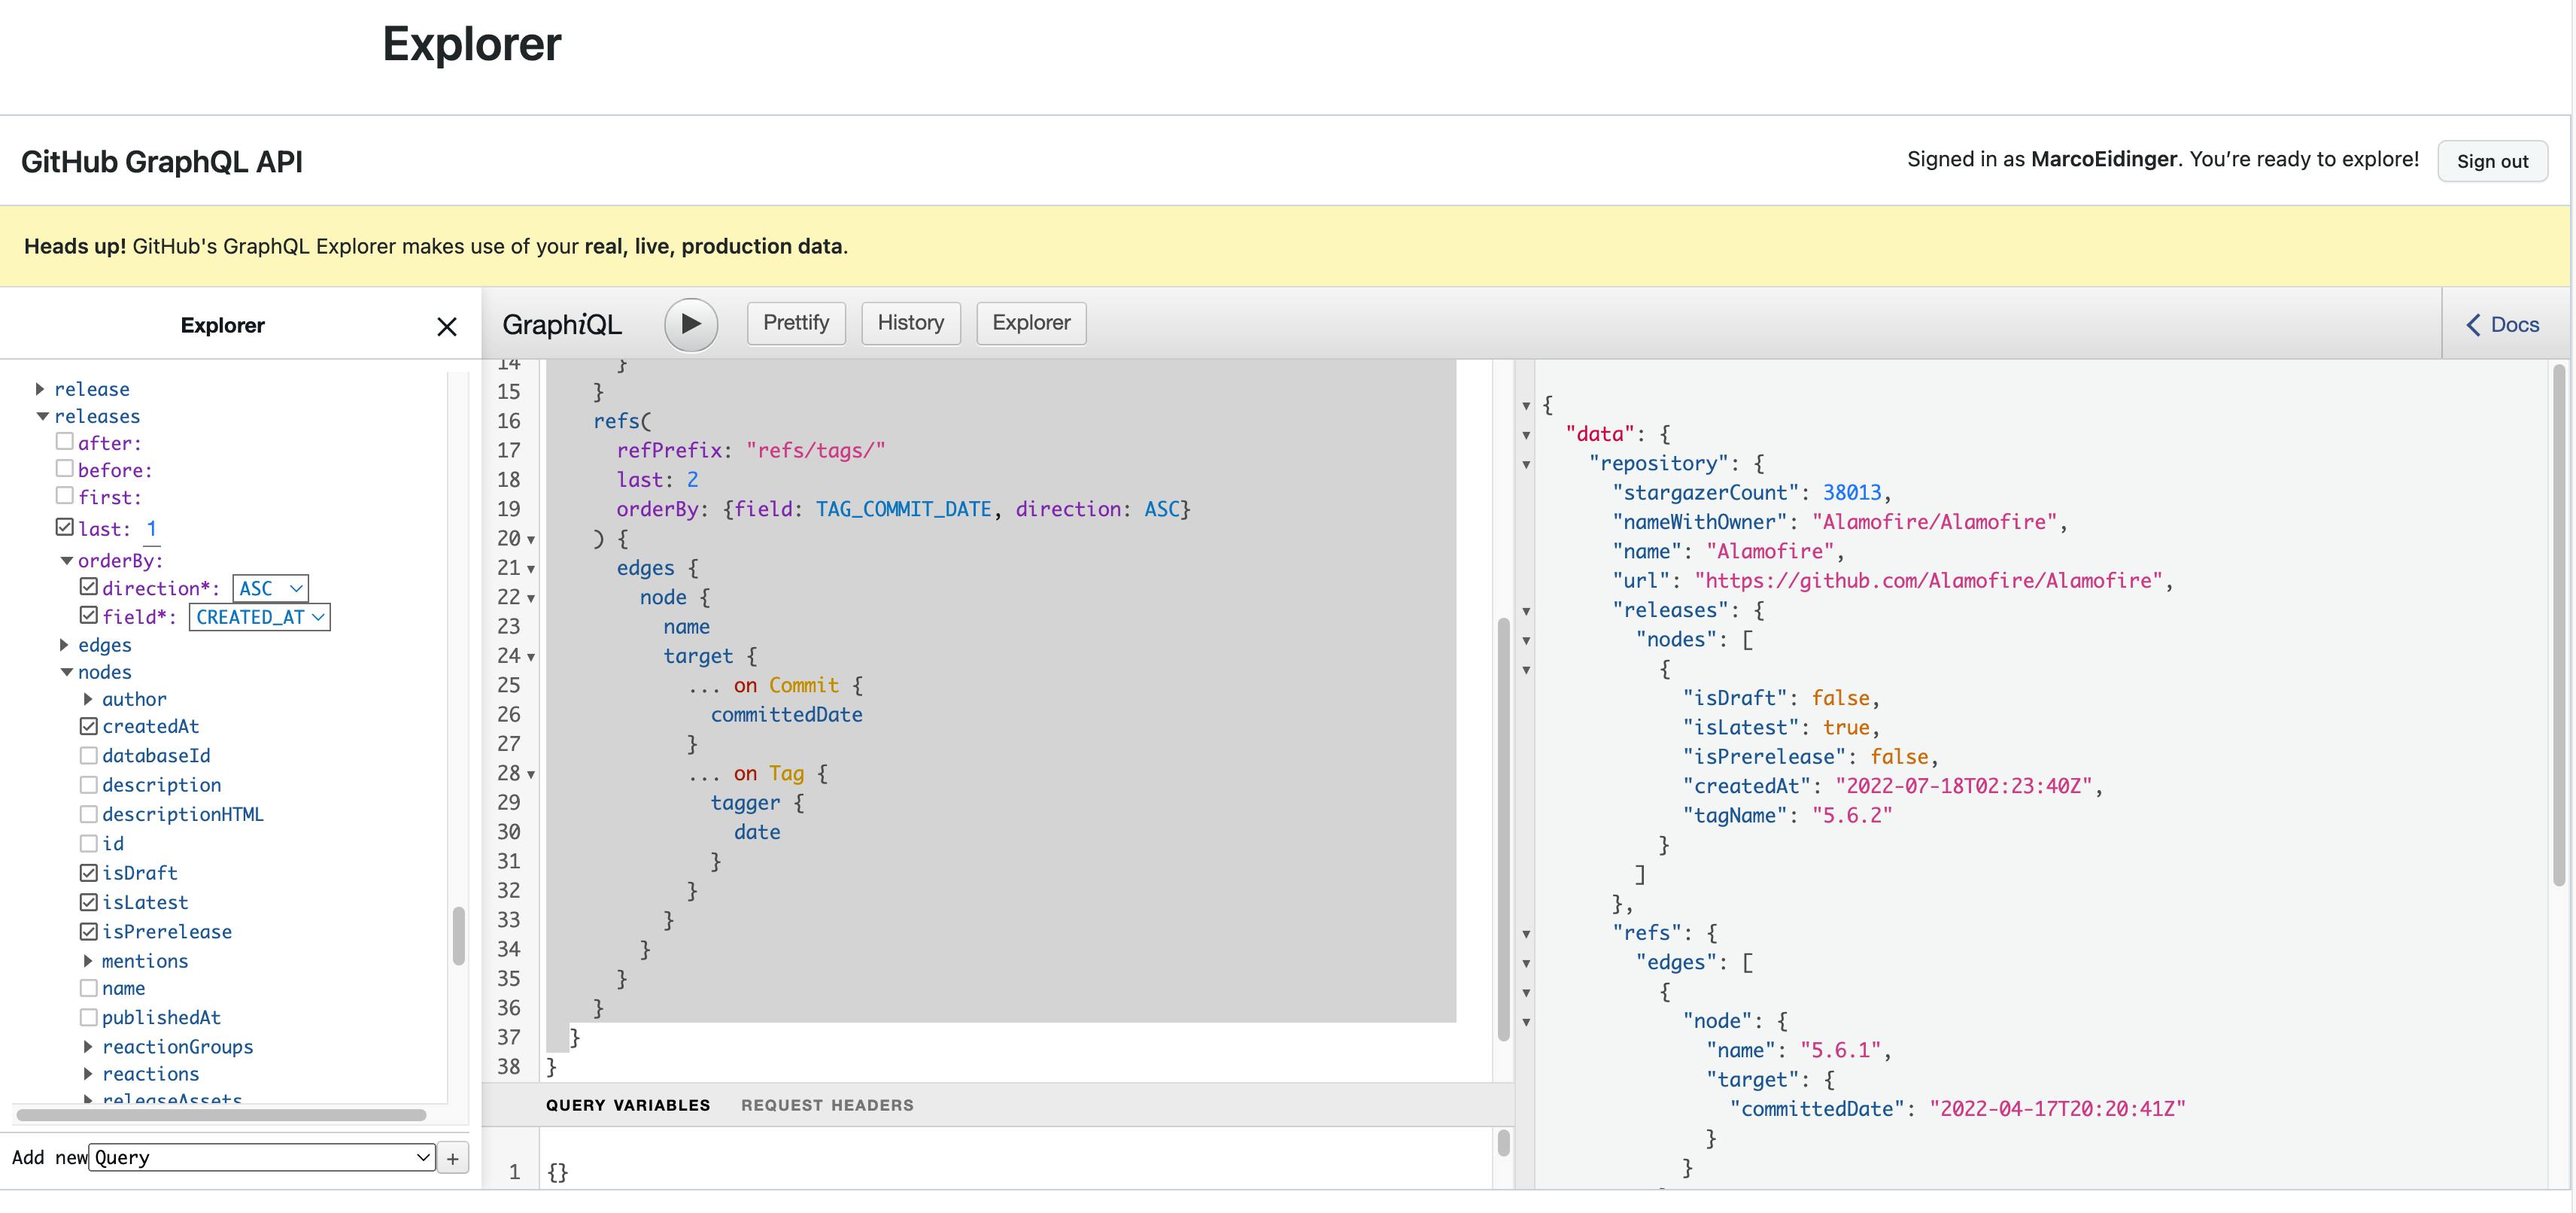
If you want to learn more about GitHub's GrapQL API, you can download the latest version of the public schema from here. Better is to leverage the Explorer to get familiar with the query options.

Swift Coding
Swift's Foundation framework allows you to send an HTTP POST request (to a GraphQL endpoint). Use JSONEncoder to encode the GraphQL query and attach it to the request as its httpBody.
In this blog post, I wanted to explicitly demonstrate how to handle GraphQL without any library, although I probably would use a library (or build my own). Tools like Apollo iOS can provide a strongly-typed GraphQL client, which makes the query creation and parsing of the response easy and safe. However, such libraries may not offer the latest features you might hope for, e.g. Swift Modern Concurrency.
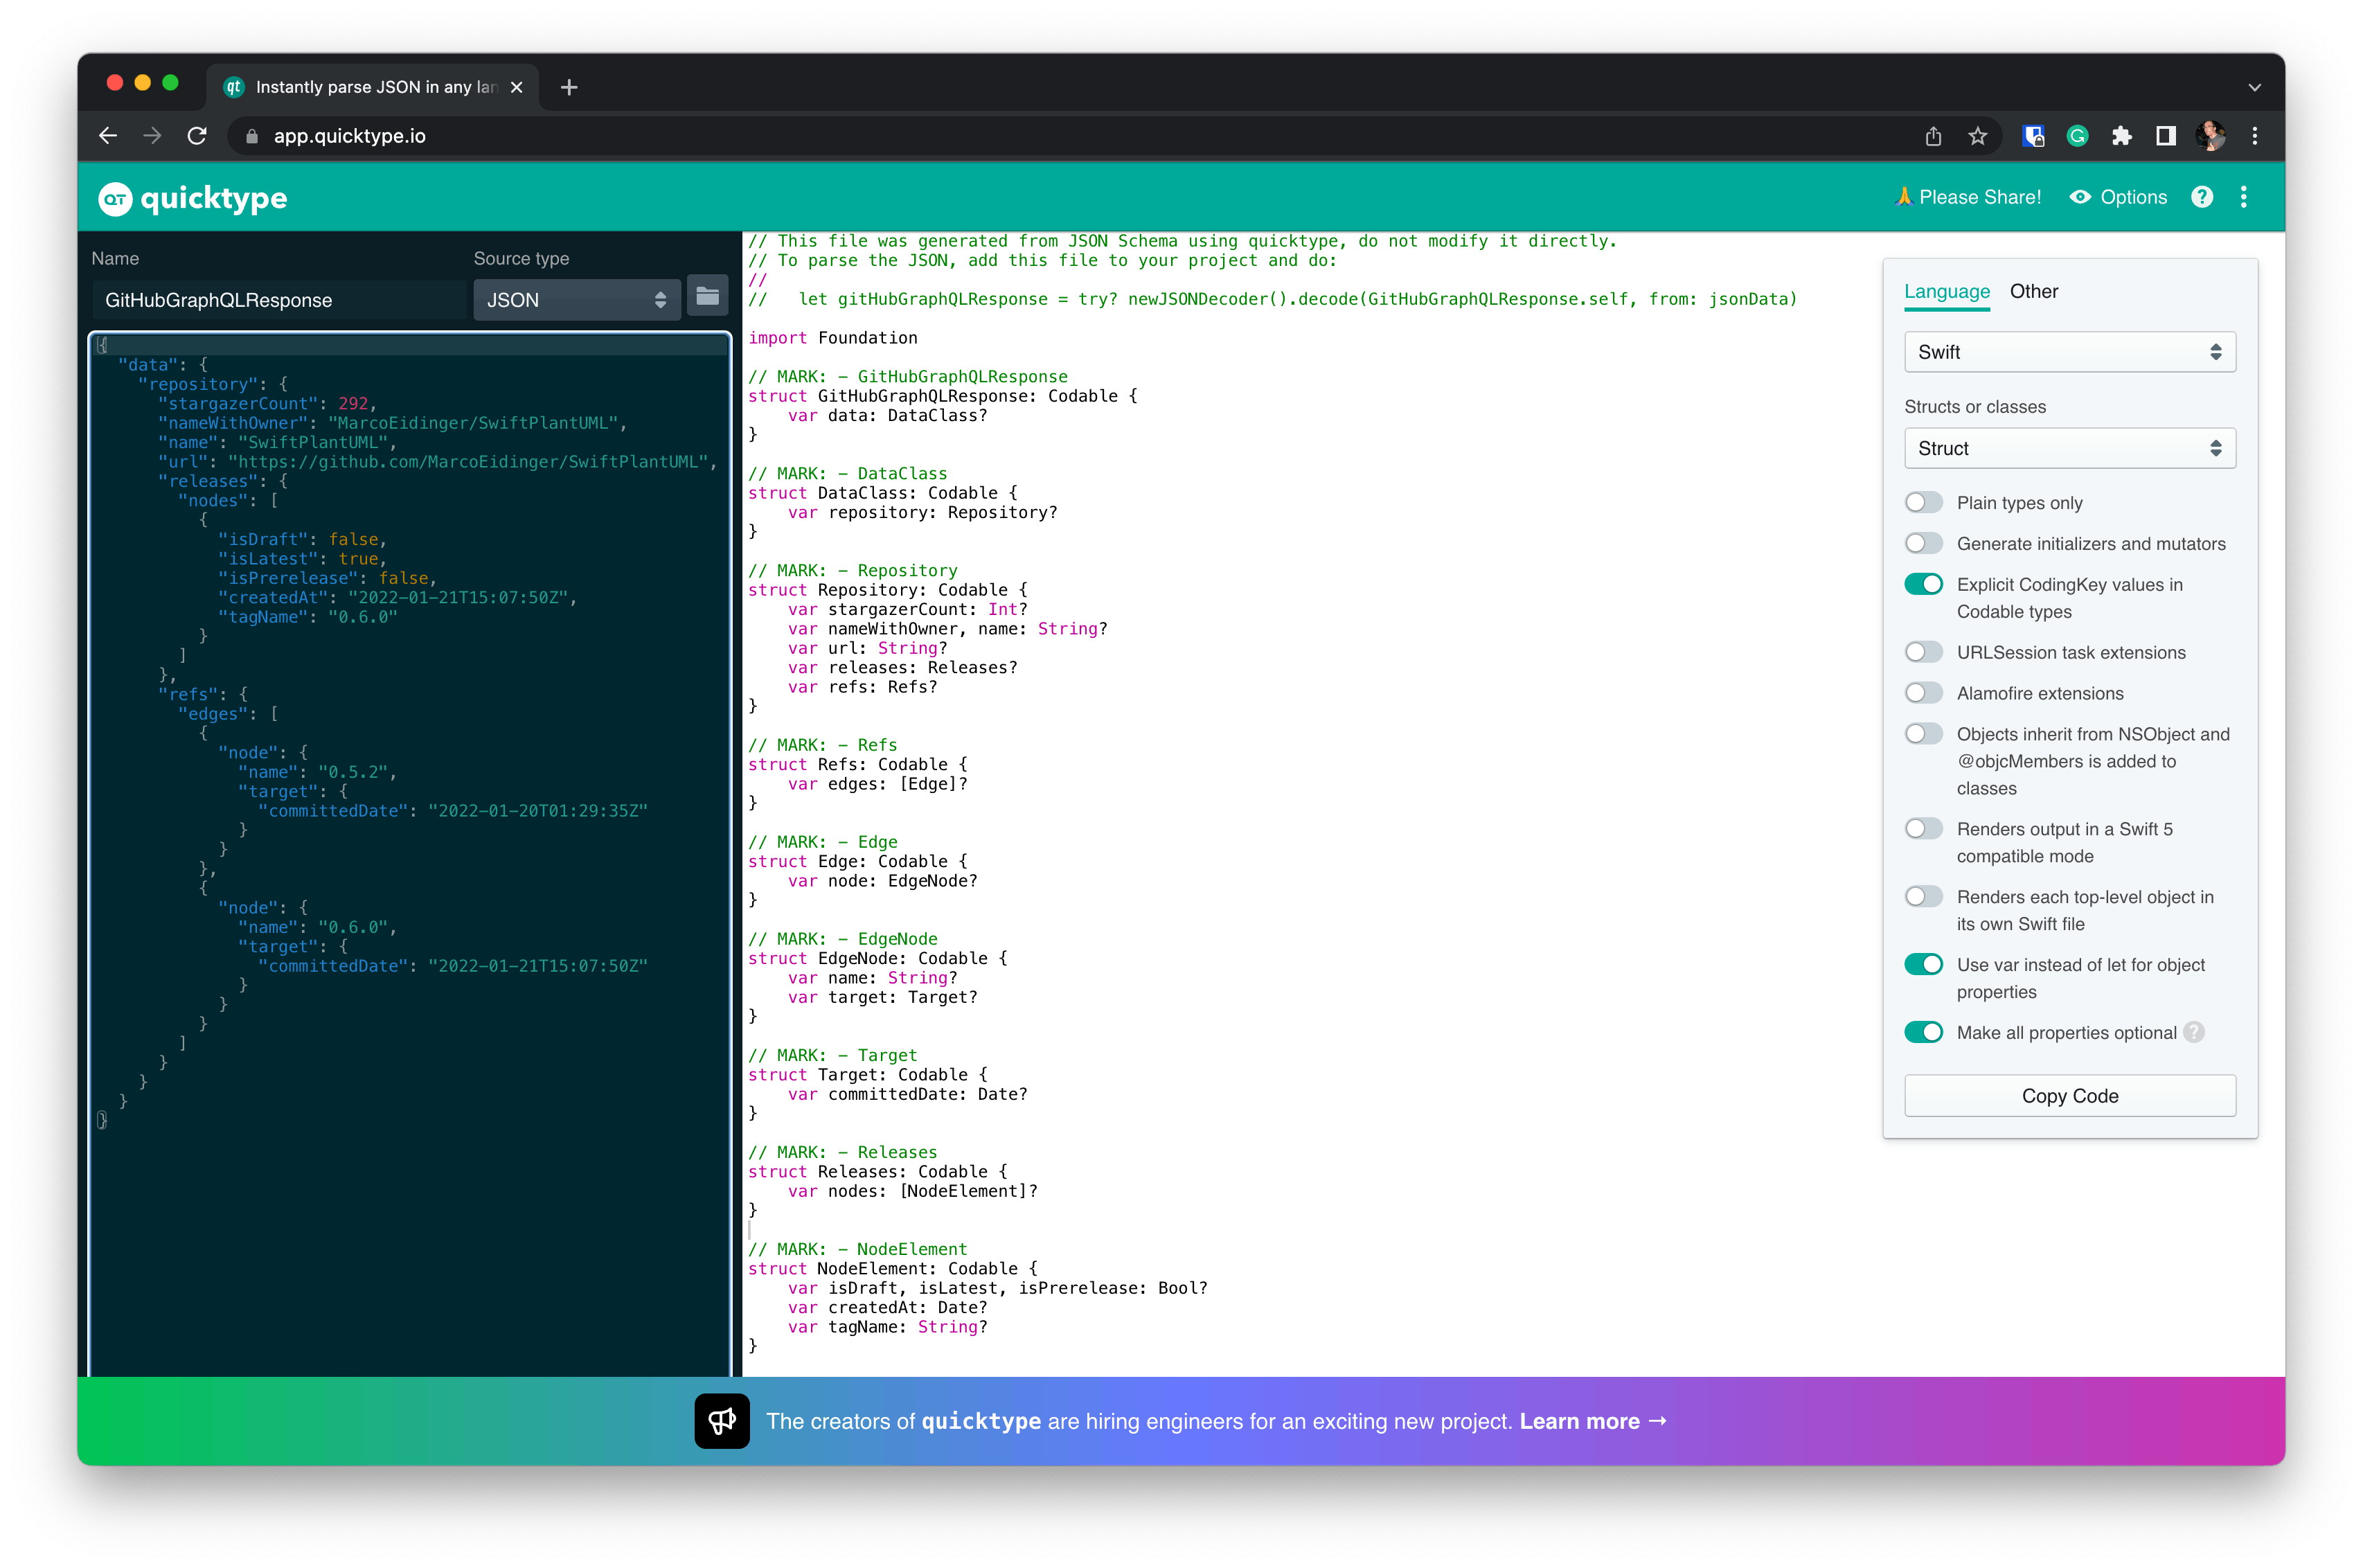
If you want to go without any third-party library, I recommend using QuickType.io to generate a Swift model from your expected GraphQL response.

Here are the generated types for the given example.
// This file was generated from JSON Schema using quicktype, do not modify it directly.
// To parse the JSON, add this file to your project and do:
//
//   let gitHubGraphQLResponse = try? newJSONDecoder().decode(GitHubGraphQLResponse.self, from: jsonData)

import Foundation

// MARK: - GitHubGraphQLResponse
struct GitHubGraphQLResponse: Codable {
    var data: DataClass?
}

// MARK: - DataClass
struct DataClass: Codable {
    var repository: Repository?
}

// MARK: - Repository
struct Repository: Codable {
    var stargazerCount: Int?
    var nameWithOwner, name: String?
    var url: String?
    var releases: Releases?
    var refs: Refs?
}

// MARK: - Refs
struct Refs: Codable {
    var edges: [Edge]?
}

// MARK: - Edge
struct Edge: Codable {
    var node: EdgeNode?
}

// MARK: - EdgeNode
struct EdgeNode: Codable {
    var name: String?
    var target: Target?
}

// MARK: - Target
struct Target: Codable {
    var committedDate: Date?
    let tagger: Tagger?
}

// MARK: - Tagger

struct Tagger: Codable {
    let date: Date?
}

// MARK: - Releases
struct Releases: Codable {
    var nodes: [NodeElement]?
}

// MARK: - NodeElement
struct NodeElement: Codable {
    var isDraft, isLatest, isPrerelease: Bool?
    var createdAt: Date?
    var tagName: String?
}
Additionally, I like to create a helper Payload struct that can be used for any kind of GraphQL query.
struct Payload: Codable {
    var variables: String = "{}"
    var query: String
}
Here is a fully functional example of sending and processing a network request that queries one of my projects, SwiftPlantUML, with GraphQL.
import Foundation

func querySpecificRepositoryWithGraphQLQuery() async throws -> GitHubGraphQLResponse {
    let username = "MarcoEidinger"
    let pat = "ghp_y........."
    let base64EncodedCredentials = "\(username):\(pat)".data(using: .utf8)!.base64EncodedString()

    var request = URLRequest(url: URL(string: "https://api.github.com/graphql")!)
    request.httpMethod = "POST"
    request.addValue("application/json", forHTTPHeaderField: "Content-Type")

    // `Authorization` header required for GitHub GraphQL API
    request.addValue("Basic \(base64EncodedCredentials)", forHTTPHeaderField: "Authorization")

    let query =
                """
                {
                  repository(owner: "MarcoEidinger", name: "SwiftPlantUML") {
                    stargazerCount
                    nameWithOwner
                    name
                    url
                    releases(orderBy: {direction: ASC, field: CREATED_AT}, last: 2) {
                      nodes {
                        isDraft
                        isLatest
                        isPrerelease
                        createdAt
                        tagName
                      }
                    }
                    refs(
                      refPrefix: "refs/tags/"
                      last: 2
                      orderBy: {field: TAG_COMMIT_DATE, direction: ASC}
                    ) {
                      edges {
                        node {
                          name
                          target {
                            ... on Commit {
                              committedDate
                            }
                            ... on Tag {
                              tagger {
                                date
                              }
                            }
                          }
                        }
                      }
                    }
                  }
                }
                """

    let payload = Payload(query: query)
    let postData = try! JSONEncoder().encode(payload)
    request.httpBody = postData

    let response = try await URLSession.shared.data(for: request)

    // GitHub returns dates according to the ISO 8601 standard so let's use the appropiate stragegy. Otherwise the decoding will fail and an error gets thrown
    let jsonDecoder = JSONDecoder()
    jsonDecoder.dateDecodingStrategy = .iso8601

    let jsonData = response.0

    // Decode to the generated types by quicktype.io
    let gitHubGraphQLResponse = try jsonDecoder.decode(GitHubGraphQLResponse.self, from: jsonData)

    return gitHubGraphQLResponse
}
Adjust the values for variables username, pat, and query for your own example. Finally, you would need to replace GitHubGraphQLResponse.self with your response type.
Note: An authenticated user is needed to use GitHub's GraphQL API. The coding example shows how to use a personal access token, but you are better off leveraging OAuth2 for productive use.

