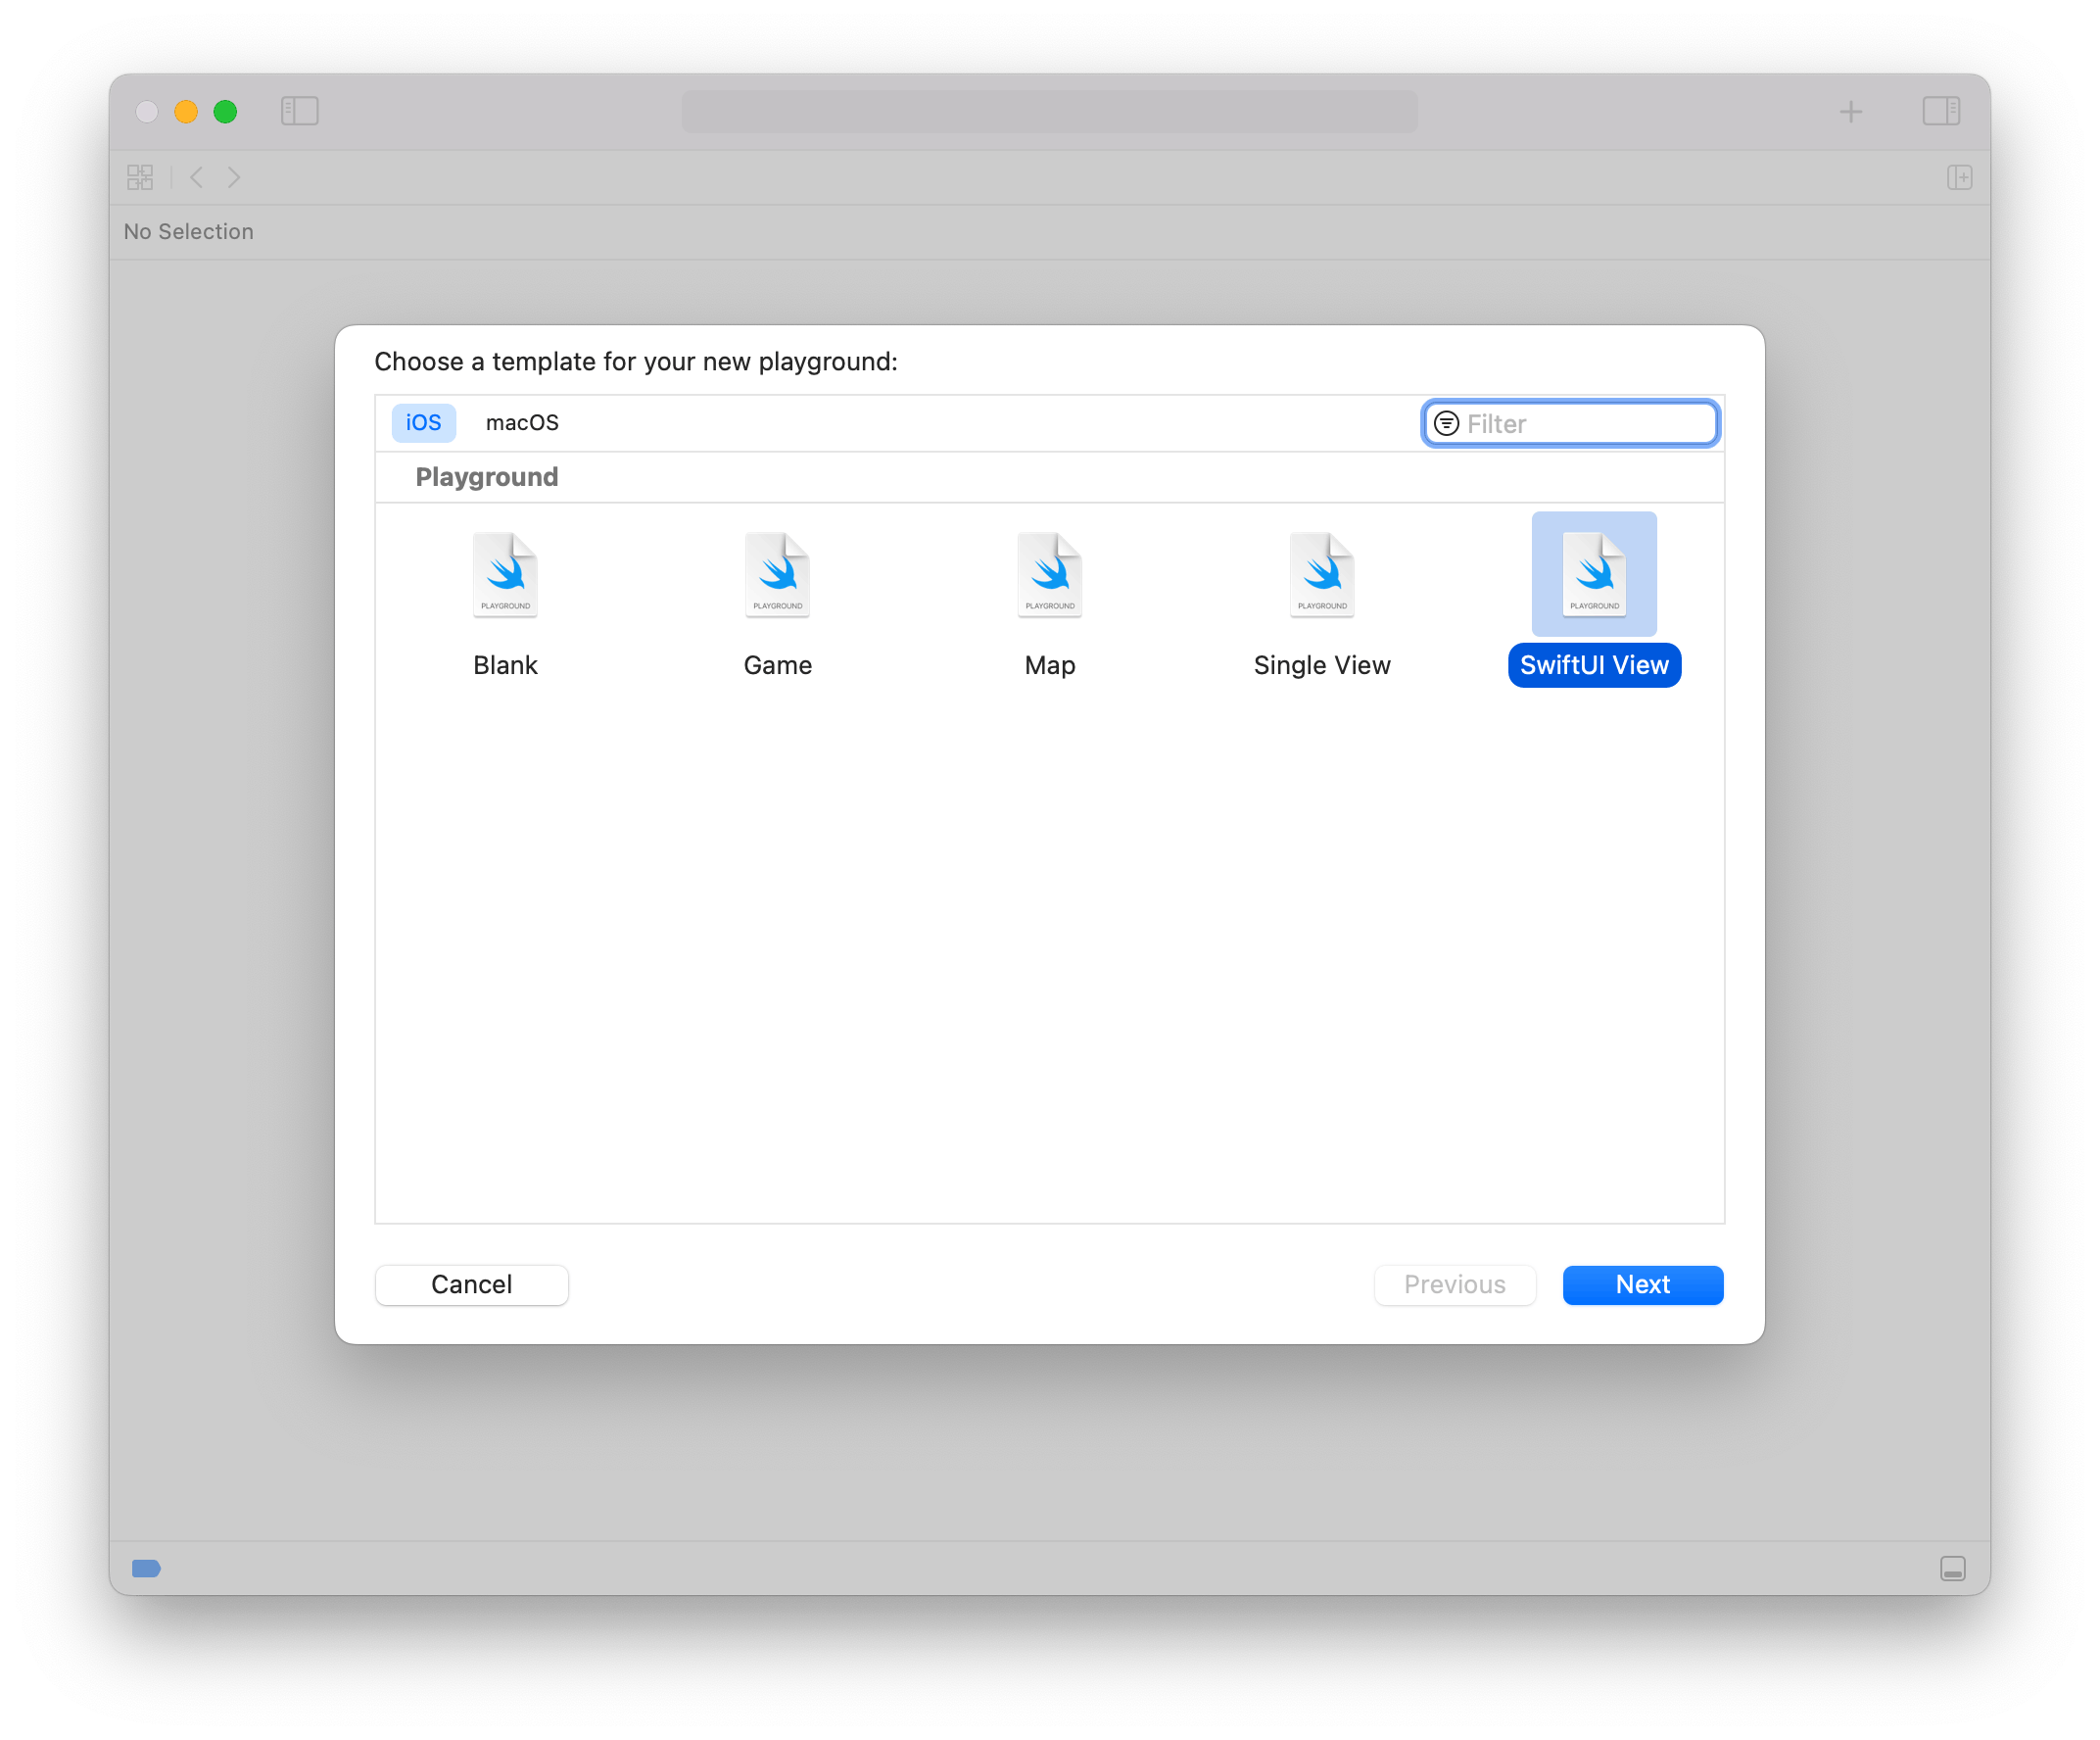
In this blog post I will show you how to add a custom playground template in Xcode. In my example I'll add a SwiftUI View template as alternative to the predefined Single View template. If you are more interested on how to create a custom file template, e.g. to be used in an iOS application, then check out my other article "Create your custom SwiftUI file template in Xcode".

The easiest way to create a new template is to copy and modify an existing template. But where are those stored? The storage location depends on the platform for which you want to create a new playground template.
Xcode provides predefined playground templates for two platforms:
- iOS
- macOS
Playground file templates for iOS are stored in the /Applications/Xcode.app/Contents/Developer/Platforms/iPhoneOS.platform/Developer/Library/Xcode/Templates/File Templates/iOS/Playground folder.
Playground file templates for macOS are stored in the /Applications/Xcode.app/Contents/Developer/Library/Xcode/Templates/File Templates/macOS/Playground folder.
Each template is a folder named with the extension xctemplate. I am gonna create a SwiftUI.xctemplate folder.
Then copy the following two files of an existing template:
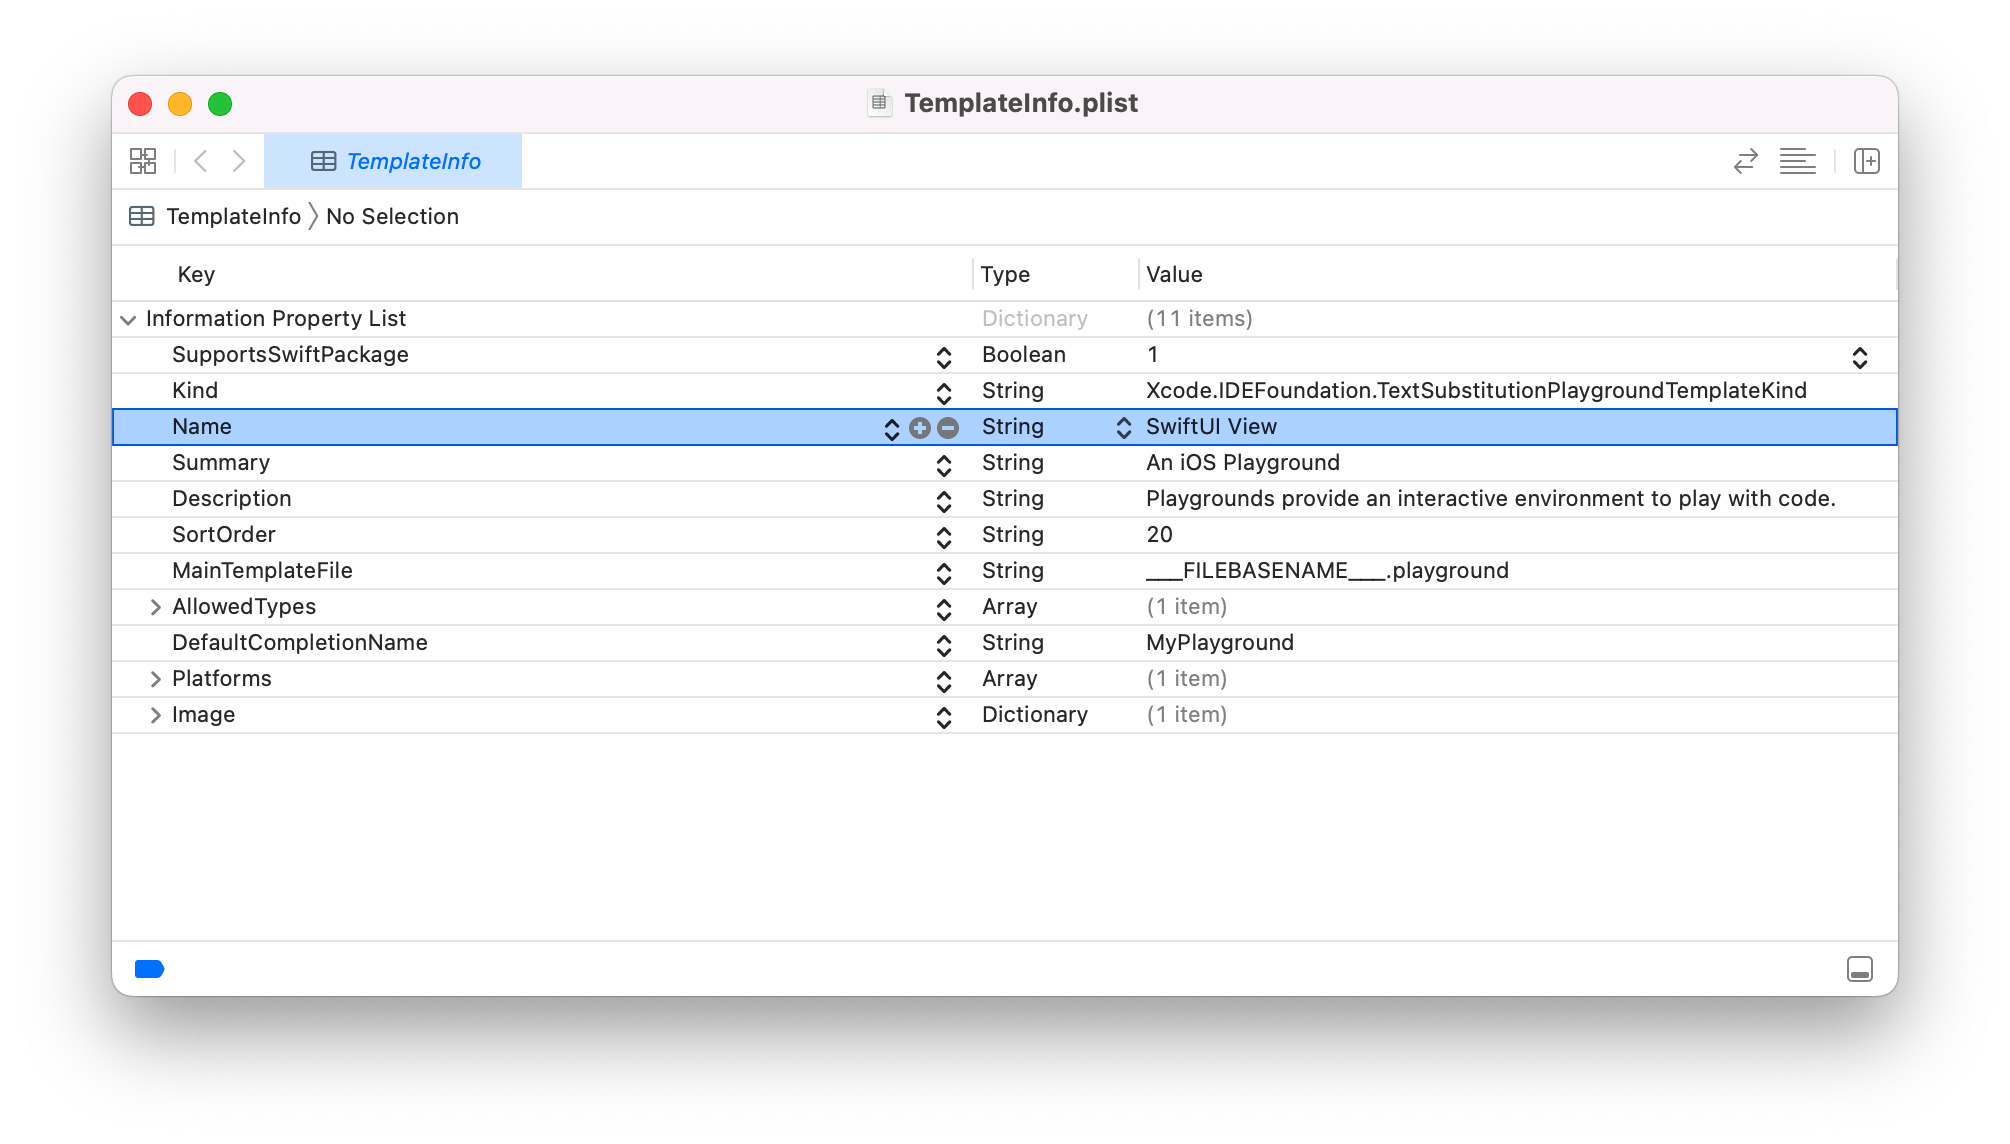
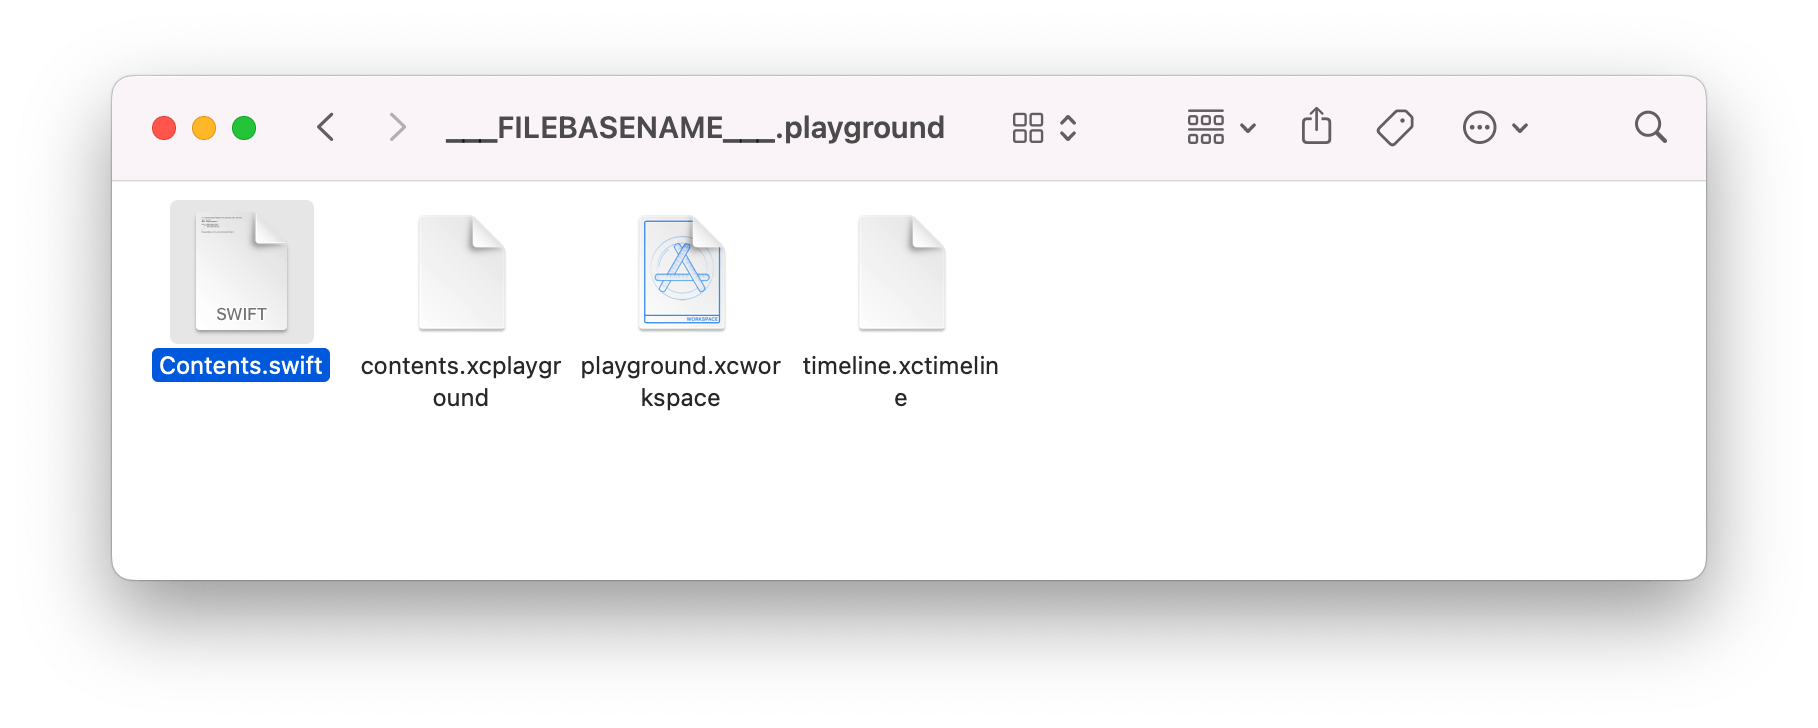
TemplateInfo.plistthat contains meta data information about the template.___FILEBASENAME___.playgroundwhich is actually a package and its contents can be accessed with "Show package contents"

The template name, visible in Xcode, can be adjusted in TemplateInfo.plist.

The code you want to change/add is located in the Contents.swift file.

I am adding the following code so that my template will always create a dummy SwiftUI view and set it as the playground page's live view.
//: A SwiftUI based Playground for presenting user interface

import SwiftUI
import PlaygroundSupport

struct ContentView: View {
    var body: some View {
        Text("Hello World")
    }
}

PlaygroundPage.current.setLiveView(ContentView())
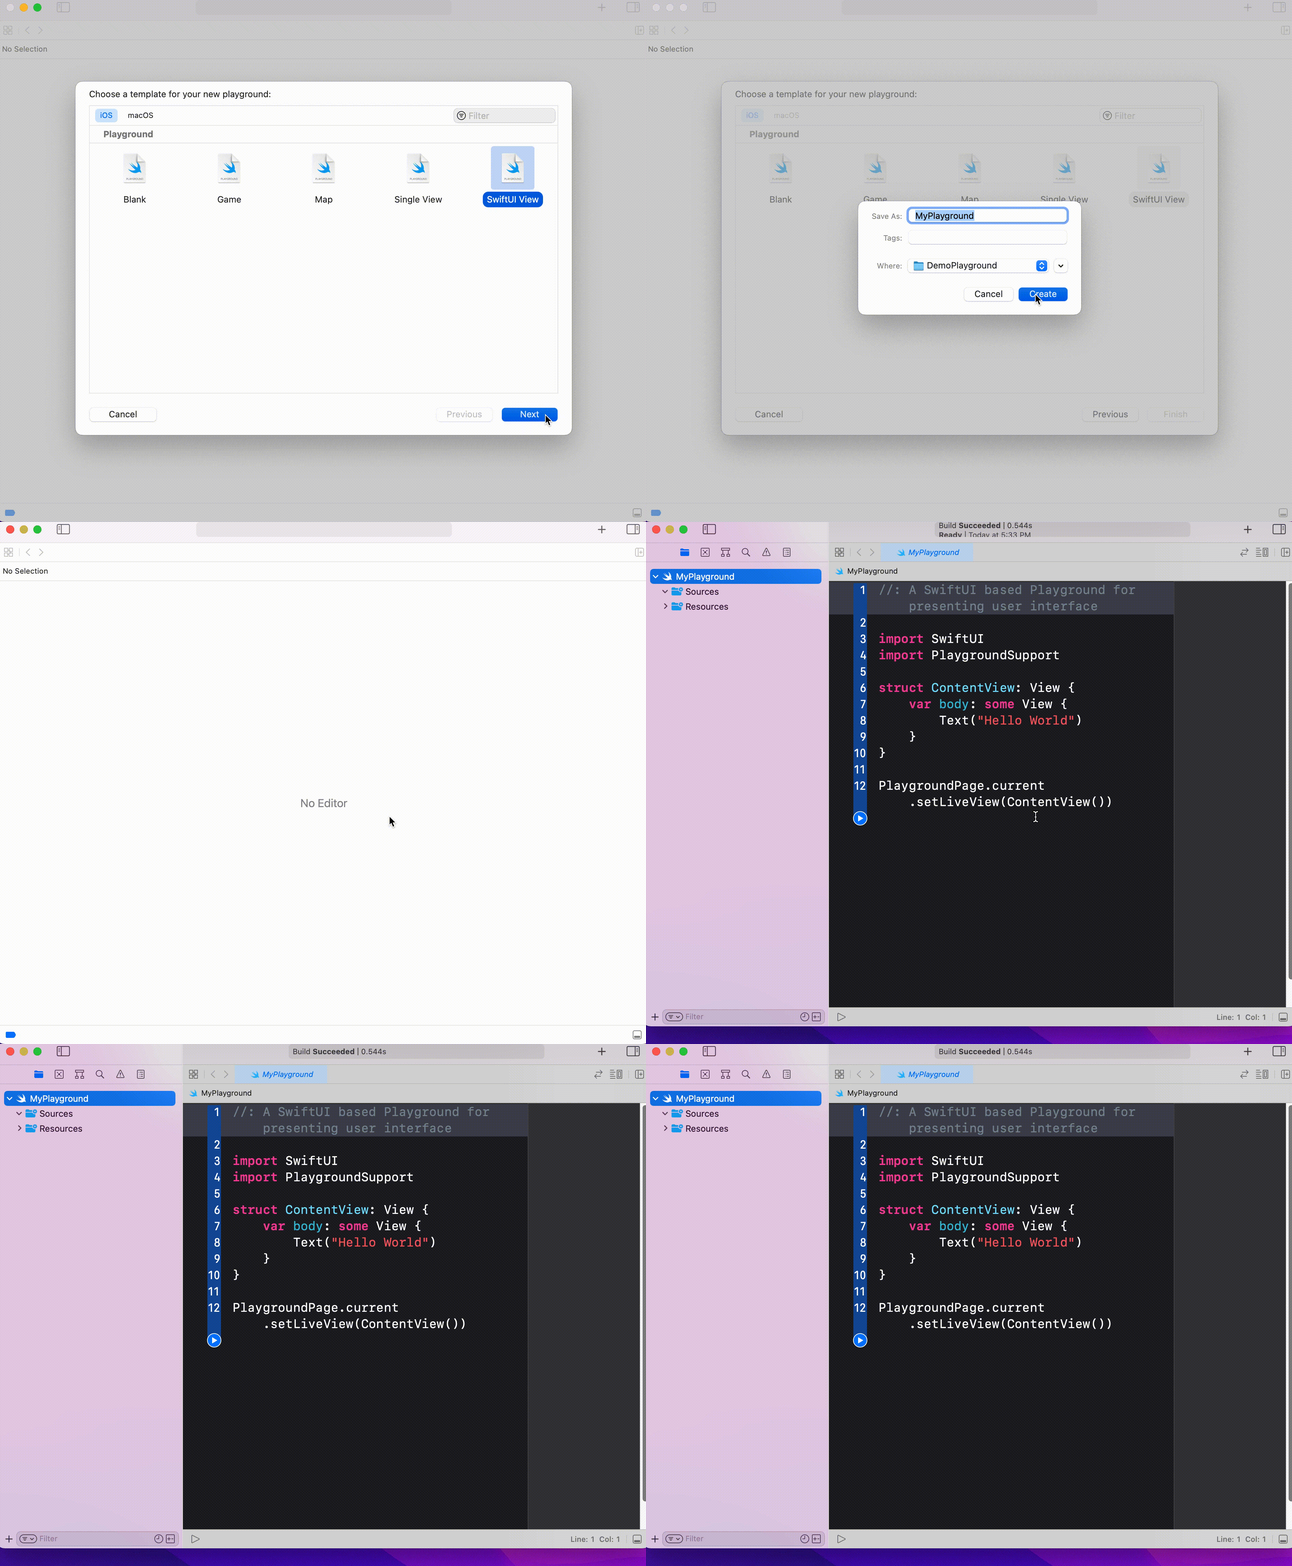
Here is the final result:


